

Another great year of cidering at Five Islands, Maine with a good group of people, excellent weather, and delicious food.
A complementary writeup and different set of photos can be found at Ben's blog.
We arranged for our usual two bins of mixed seconds from Autumn Hills in Groton. Ben and I spent a couple pleasant hours a week and a half before cider at the AH orchard transferring apples from their bins to ours and chatting with Ann and Scott. Many local orchards had little fruit this year due to a late freeze. Autumn Hills escaped the worst of it though and had plenty of apples. I've noticed a lot of smaller apples this year too – possibly a result of drought?
A complementary writeup and different set of photos can be found at Ben's blog.
We arranged for our usual two bins of mixed seconds from Autumn Hills in Groton. Ben and I spent a couple pleasant hours a week and a half before cider at the AH orchard transferring apples from their bins to ours and chatting with Ann and Scott. Many local orchards had little fruit this year due to a late freeze. Autumn Hills escaped the worst of it though and had plenty of apples. I've noticed a lot of smaller apples this year too – possibly a result of drought?

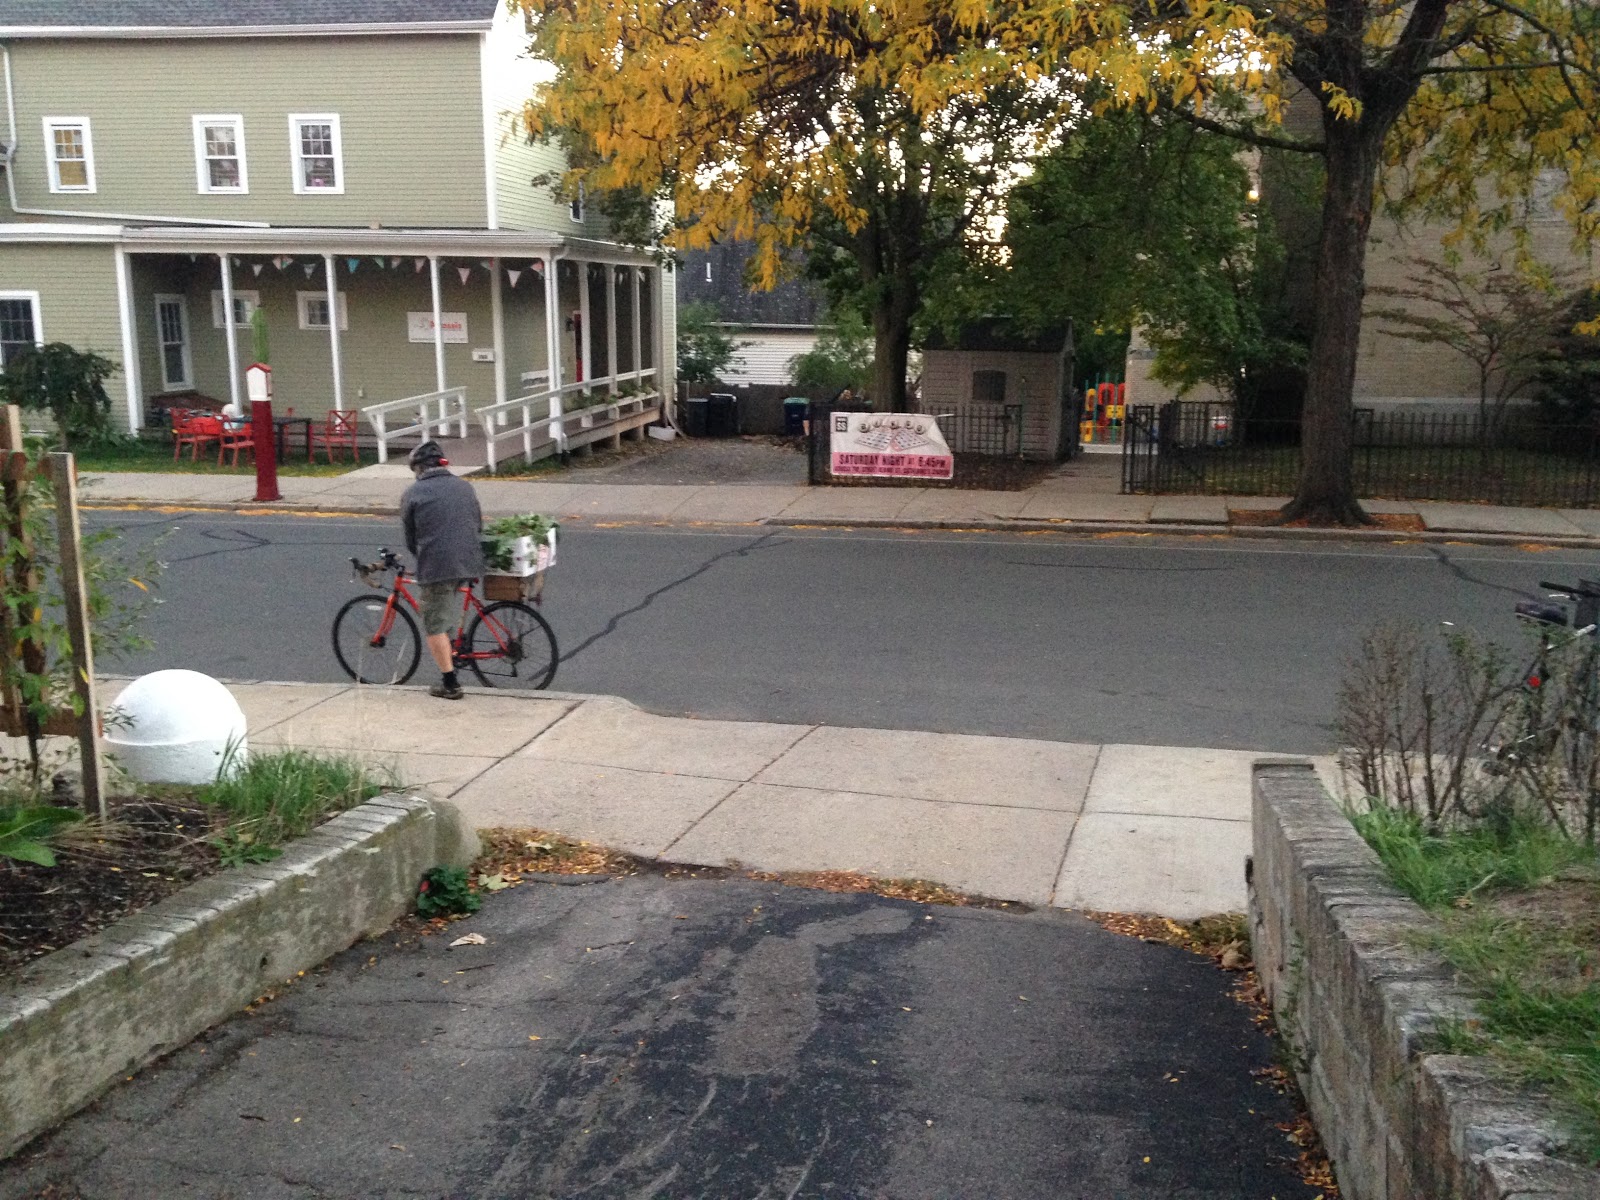
I also picked up an extra two bushels of seconds for my friend from work, Jim. Here he is strapping a bushel box to his bike, with some sweet potato greens on top which we had just picked in the garden.

Ben got a bin of mixed Yarlington and Dabinett from Poverty Lane in NH, and yet another bin from Brackett's in Maine. So we had a nice amount of feedstock. Last year we had a ton of extra apples picked from wild trees by Ben's parents and brought in by cider participants. The abundance was awesome, but strained our capabilities and meant that Saturday was not done until very late and there was more to wrap up on Sunday. Four bins makes plenty of cider but is a better match to the throughput of the equipment and the hands to run it.
I meant to pick one of my five Goldrush apples still hanging on my little tree in my backyard in Somerville to bring as a symbolic contribution, but I forgot.

I took friday off work and spent a few hours fitting up our new huge cartop carrier and packing a large amount of stuff into a small space. Luckily Ned volunteered to transport four corny kegs in his spacious Prius trunk.
We arrived in Five Islands at the end of the day and enjoyed a beautiful sunset over the cove from the lower cabin.

Soon we were eating burritos with some early arrivals, and Ben led a memorable viking fire barge effort.
Next morning saw the final fitting out of the first attempt at a bike powered apple washer.
Next morning saw the final fitting out of the first attempt at a bike powered apple washer.

Washing has been our bottleneck step for these last few years, and consumes a lot of labor. It is not especially fun either, since your hands get cold and your clothes wet, so it has been at the top of the list to do something about for a while. The Mainers had knocked together an inclined piece of plastic culvert pipe running on rollerblade wheels with a belt drive from a bike.

Saturday saw the pipe lined with astroturf and some stationary wooden features arranged to direct the apples while traveling through the apparatus. A hose was rigged to lightly spray water into the upper end.

A few adjustments were made throughout the day and while I wasn't involved much it seemed like this new addition made a significant impact toward reducing drudgery and increasing throughput. Here is a little video.
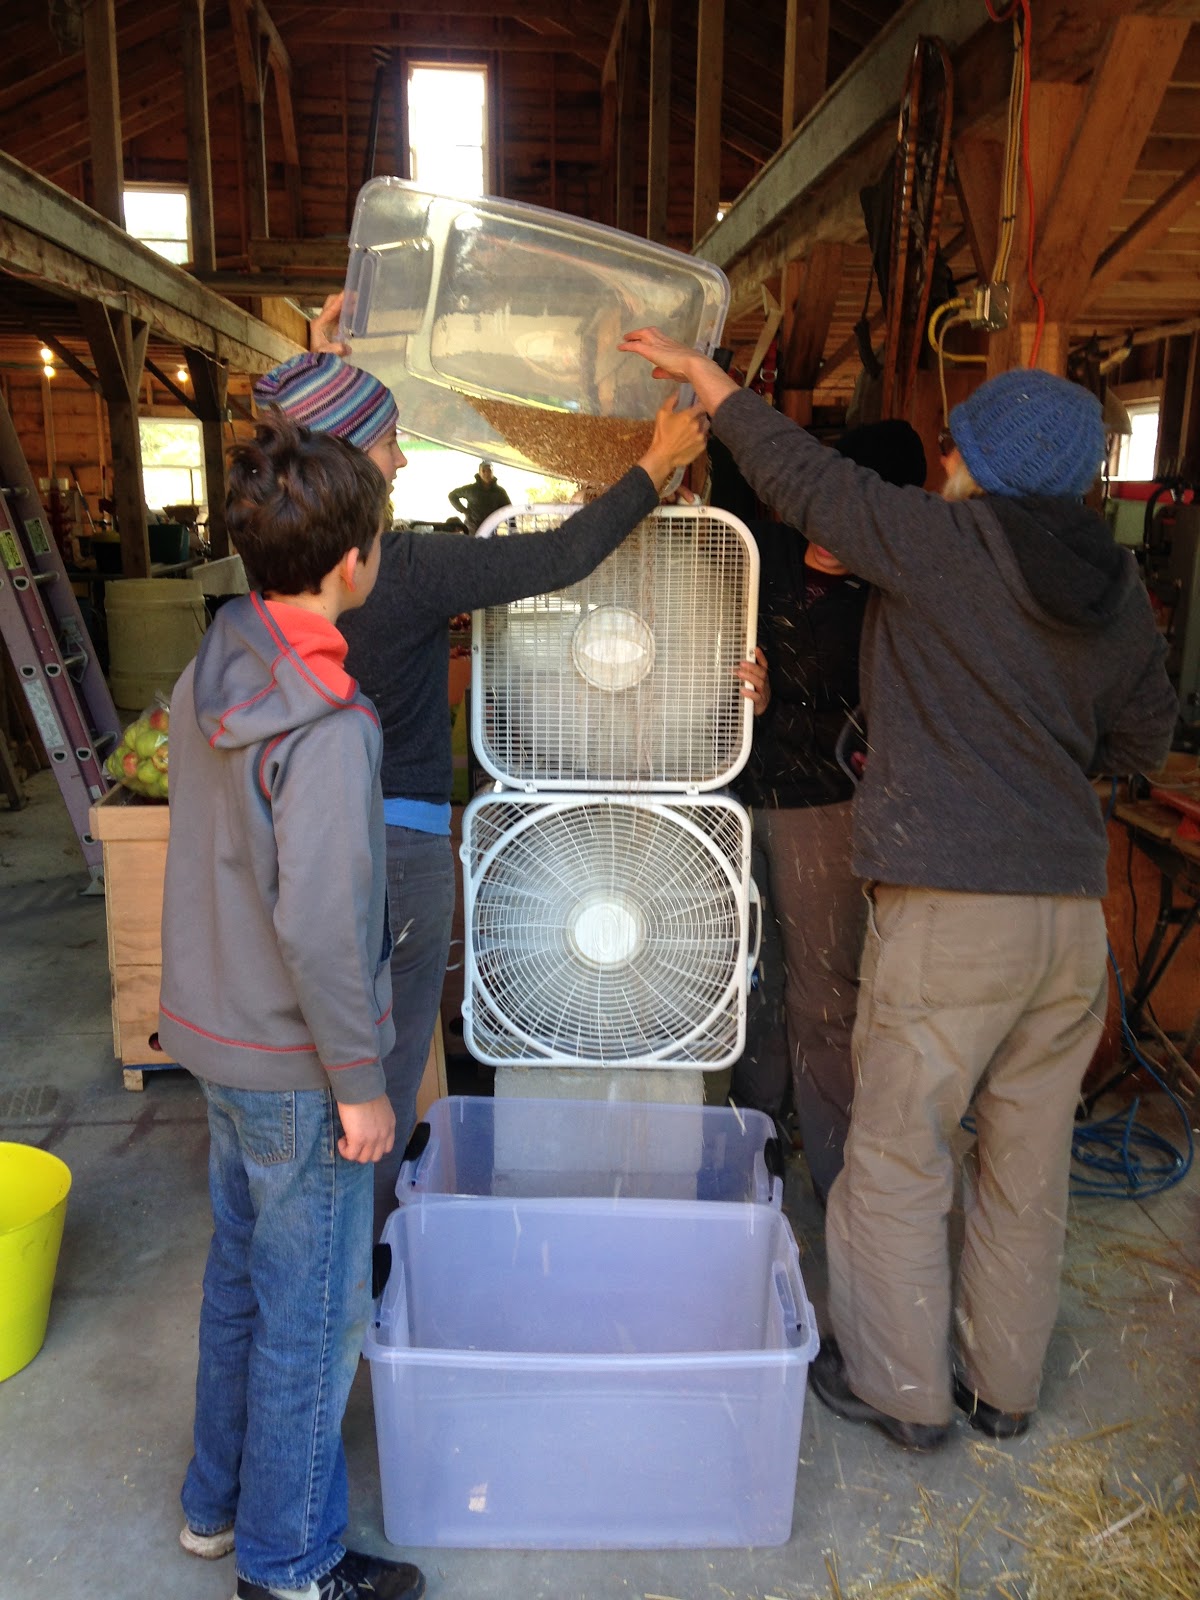
Ben had grown some Warthog winter wheat in between rows in the orchard, and it actually made an impressive amount of grain. Emily, Ben, Beth and some helpers figured out how to thresh it with a weedwhacker in a plastic barrel and winnow with window fans.


The effective and well-built Country Living grain mill first used last year made another appearance, but built into a cute little pedal stand by Kelsey and her father in law.

The new stand surely stores better and is easier to transport than the huge bike power stand it was on last year. But it was not as ergonomic to use. We put the flywheel back on and adjusted the gearing a bit, which got us to an ok place for the day's grinding needs. I think perhaps with a bigger flywheel and the right seat, probably anchored to the grinding stand, it could be quite good. Normally you probably don't need to grind as much grain at a time as we wanted to on Saturday, so a drop in efficiency and ease of use in exchange for compact storage size could be a good tradeoff.

A rotation of pedalers ground up enough wheat to make Ned's apple fritters, cornbread (1/3 wheat) and 6 trays of apple crisp for dinner, plus pancakes for sunday morning. We switched to the corn screw feeder on the mill and ground up 1800g of corn, about half of which was dried down sweet corn from the Stroudwater garden. The cornbread was very tasty this year (recipe listed in last year's writeup, but sugar reduced to 200g), so I think using dried sweet corn is a fine thing to do for cornmeal. It was much lower density than the boughten dent corn I brought for grinding, so I'm not sure how it would turn out if used exclusively. I'm sure the fresh ground and ultra-local wheat added to the flavor.
Becky made a huge pot of veg chili, some leftovers of which we had to push off on the locals on Sunday to reduce the chance of chili spill accident while driving the pot back to Somerville.
We made up 6 trays of apple crisp using a mix of Calville Blanc d'Hiver from Poverty Lane and some apples from my coworker's tree she donated to the cause, which I suspect to be Newtown Pippin. The Calvilles this year were truly fine in flavor, and it is such a pretty looking apple with it's pronounced and distinctive ribbing. Those ridges do make it more troublesome to peel however!
Emily and Child 3 helped prep the apples, as shown at the top of the post. About a 20L pail full.
Here is the stack of butter Becky and I used to cook dinner, warming up on some boards. Healthy country living, eh?! Well, truthfully we don't confine the consumption of outlandish amounts of butter to our trip to Maine…

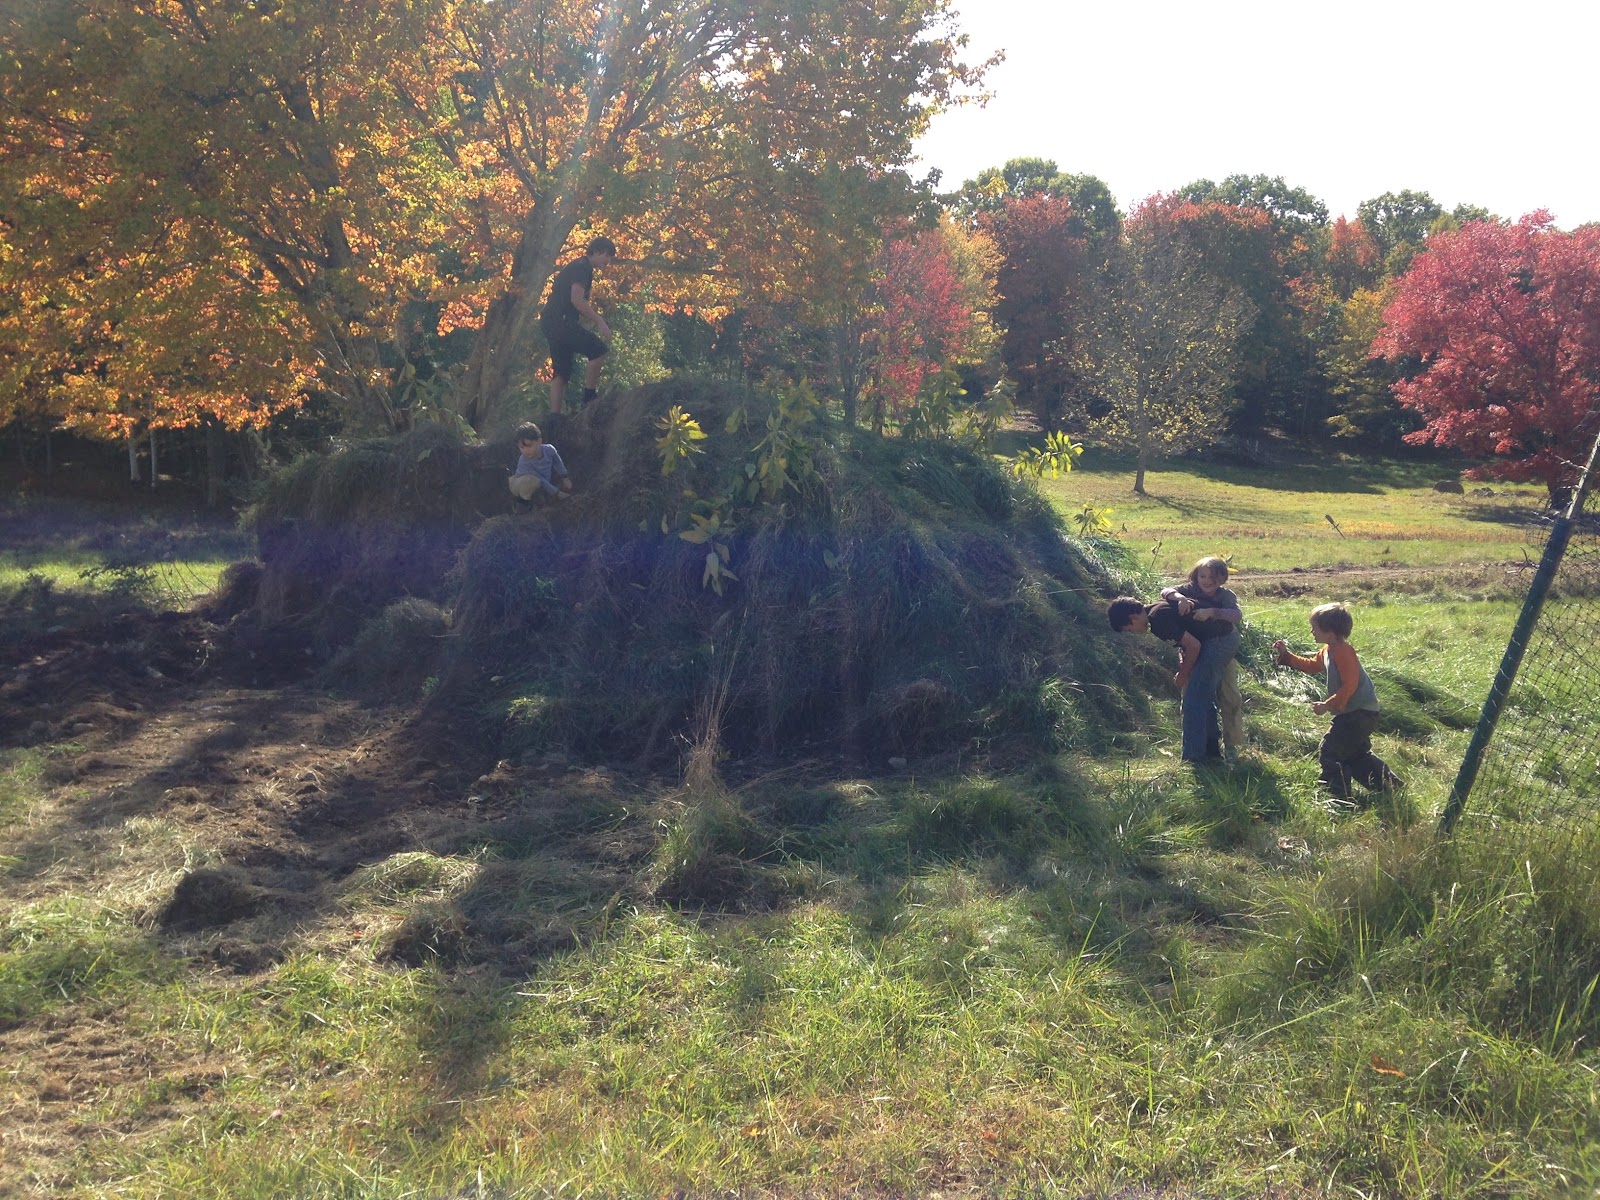
Our kids had lots of fun running around left up to their own devices. They have hung out with the other kids at this cider event enough times that they get over the awkwardness faster than they used to and get on to having a good time more easily. Some of the activities I saw the pack of younguns engaged in:
- sledding on cardboard and rolling down a big dirt mound
- putting random foods into the hot oil from the apple fritters, including watermelon, cookies, etc.
- making voodoo dolls from sticks and apples and throwing them in the fire
- stick fights
- wheelbarrow rides
- helping run cider, grain production, and dinner
Only minor injuries too, so let's count that as a success.


Duane from Japanese Pattern Challenge dropped by for a little bit. He lives in the neighborhood and I thought it would be fun to meet so I invited him to come over on Saturday. It was cool to meet this talented hobbyist garment maker and craftsman; I can only aspire to get as good as he is at making clothing for oneself. We also chatted briefly about his ongoing project to make a wooden sailboat, which looks amazing so far. Duane brought a box of apples and left with a little cider.
Cidering itself went smoothly; very few equipment issues, and enough people have been to the event enough times that there are many folks around who generally know what should happen and can shepherd things along and keep the process running. We are developing competence as a group!


We got new shirts this year, courtesy once again of the generous Jones family, this time in chocolate brown with white ink. We re-used the chainring/apple drawing from cider 10 because no one felt they had it in them to beat it. New text and layout was done, with the title of this year's event settled as “dry spell”, both for the historic drought in New England and for the residual sugar content of the hard cider we ferment from the year's efforts. We added a tribute to Ben's grandfather, who passed away this year, and without whom our cider event would certainly never have developed in the wonderful way it has.

Some shirts were ordered undyed with black printing, and were layered inside press cloths during loading of pomace. These took a good amount of color, but after a rinse off on Sunday we decided they should go for another year of treatment to gain a darker ciderish hue.

I heard reports that some of the lighter press cloths in the rotation had blown out. I didn't see them myself but there was at least one cloth made of 10oz canvas in there. Looks like 12oz at least is recommended for single layer use. I'll have to make up a few more for next year.
There was enough time on Saturday late afternoon after all the apples were run to start cleaning up and putting things away.

A big bonfire was lit in half of an old oiltank, and a hollow pine log was modified by chainsaw to be an impressive flaming torch.


We brought home plenty of cider for drinking fresh and fermenting.

Becky made a huge pot of veg chili, some leftovers of which we had to push off on the locals on Sunday to reduce the chance of chili spill accident while driving the pot back to Somerville.
We made up 6 trays of apple crisp using a mix of Calville Blanc d'Hiver from Poverty Lane and some apples from my coworker's tree she donated to the cause, which I suspect to be Newtown Pippin. The Calvilles this year were truly fine in flavor, and it is such a pretty looking apple with it's pronounced and distinctive ribbing. Those ridges do make it more troublesome to peel however!
Emily and Child 3 helped prep the apples, as shown at the top of the post. About a 20L pail full.
Here is the stack of butter Becky and I used to cook dinner, warming up on some boards. Healthy country living, eh?! Well, truthfully we don't confine the consumption of outlandish amounts of butter to our trip to Maine…

Our kids had lots of fun running around left up to their own devices. They have hung out with the other kids at this cider event enough times that they get over the awkwardness faster than they used to and get on to having a good time more easily. Some of the activities I saw the pack of younguns engaged in:
- sledding on cardboard and rolling down a big dirt mound
- putting random foods into the hot oil from the apple fritters, including watermelon, cookies, etc.
- making voodoo dolls from sticks and apples and throwing them in the fire
- stick fights
- wheelbarrow rides
- helping run cider, grain production, and dinner
Only minor injuries too, so let's count that as a success.

Duane from Japanese Pattern Challenge dropped by for a little bit. He lives in the neighborhood and I thought it would be fun to meet so I invited him to come over on Saturday. It was cool to meet this talented hobbyist garment maker and craftsman; I can only aspire to get as good as he is at making clothing for oneself. We also chatted briefly about his ongoing project to make a wooden sailboat, which looks amazing so far. Duane brought a box of apples and left with a little cider.
Cidering itself went smoothly; very few equipment issues, and enough people have been to the event enough times that there are many folks around who generally know what should happen and can shepherd things along and keep the process running. We are developing competence as a group!


We got new shirts this year, courtesy once again of the generous Jones family, this time in chocolate brown with white ink. We re-used the chainring/apple drawing from cider 10 because no one felt they had it in them to beat it. New text and layout was done, with the title of this year's event settled as “dry spell”, both for the historic drought in New England and for the residual sugar content of the hard cider we ferment from the year's efforts. We added a tribute to Ben's grandfather, who passed away this year, and without whom our cider event would certainly never have developed in the wonderful way it has.
Some shirts were ordered undyed with black printing, and were layered inside press cloths during loading of pomace. These took a good amount of color, but after a rinse off on Sunday we decided they should go for another year of treatment to gain a darker ciderish hue.

I heard reports that some of the lighter press cloths in the rotation had blown out. I didn't see them myself but there was at least one cloth made of 10oz canvas in there. Looks like 12oz at least is recommended for single layer use. I'll have to make up a few more for next year.
There was enough time on Saturday late afternoon after all the apples were run to start cleaning up and putting things away.

A big bonfire was lit in half of an old oiltank, and a hollow pine log was modified by chainsaw to be an impressive flaming torch.


We brought home plenty of cider for drinking fresh and fermenting.

I'd like to make some more boiled cider syrup, and possibly get around to doing apple cider vinegar this year.
Thanks to everyone who contributed!
Thanks to everyone who contributed!


