September 24, 2014

Apple Saucing 2014


This year we made 30L of applesauce from 36kg of Macs over about 7 hours, using our own vintage Squeezo.


I ordered two bushels of second grade Macs from Kimball fruit farm, which Child 3 and Child 2 helped me pick up at the Union Square farmers' market. A half bushel of Chestnut crab had also been requested, but it turned out they were clean out of them. Using seconds takes a little more work to cut out some bruises and worm spots, but they are fine for applesauce and a good deal this year at $15/bushel. Price varies by supply, demand, and time of year.

The kids washed all the fruit outside in a laundry tub, enjoying the pleasant fall afternoon.


They had the brilliant idea of bobbing for apples in the tub.


Then just getting into the tub...


They even went in to get their swimming goggles.


They were quite wet by the time they had all the apples washed!


I've developed a pipelined production system for the sauce over the last couple years which works well:

1) Coarse chopping
I cut each apple into between 4 and 10 pieces, depending on size.


2) Preheat
At least in my situation, getting the apples from chopped to sauced is the rate limiting step. I've tried having multiple pots going at once, but given my particular pot resources and only four burners on the stove, it makes sense to utilize the oven to heat in parallel. Chopped apples are put into two big kitchenaid stainless bowls, covered, and put in the oven at 175C.


3) First Cookdown
Preheated apples go into a high quality medium pot over moderate flame, and 50-100cc of water added to get things going. Pot is covered and mixed frequently with a big stainless spoon. When fruit is close to being sauced, the pot is dumped into a working bowl for the next step, reloaded with preheated apples, and put back on the stovetop.


4) Strain
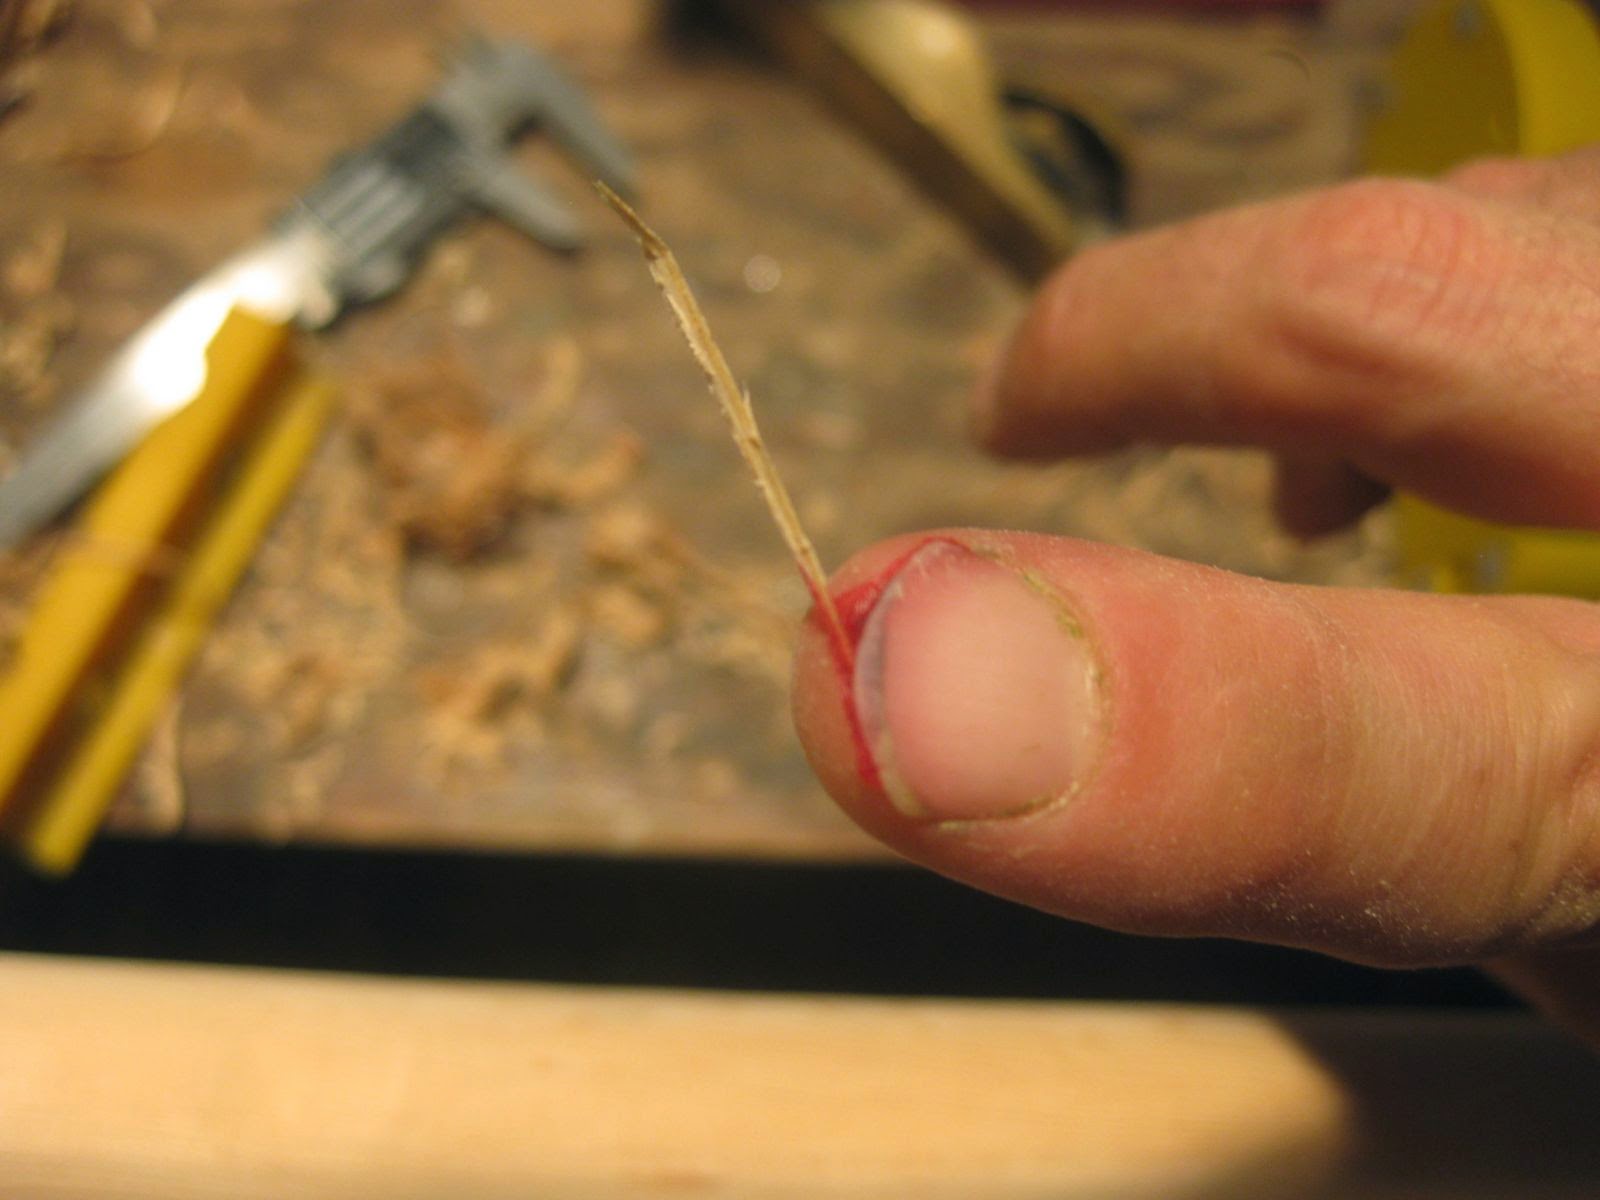
In past years, I have borrowed a Squeezo from a friend of mine, Jim Serdy. Harboring vast ambition in regards to hand cranked food processing, this year I bought our own from ebay. I matched it with a set of new stainless screens, and it was missing a wooden pushstick so I made one up on the lathe at work from some cheap polypropylene rod stock.

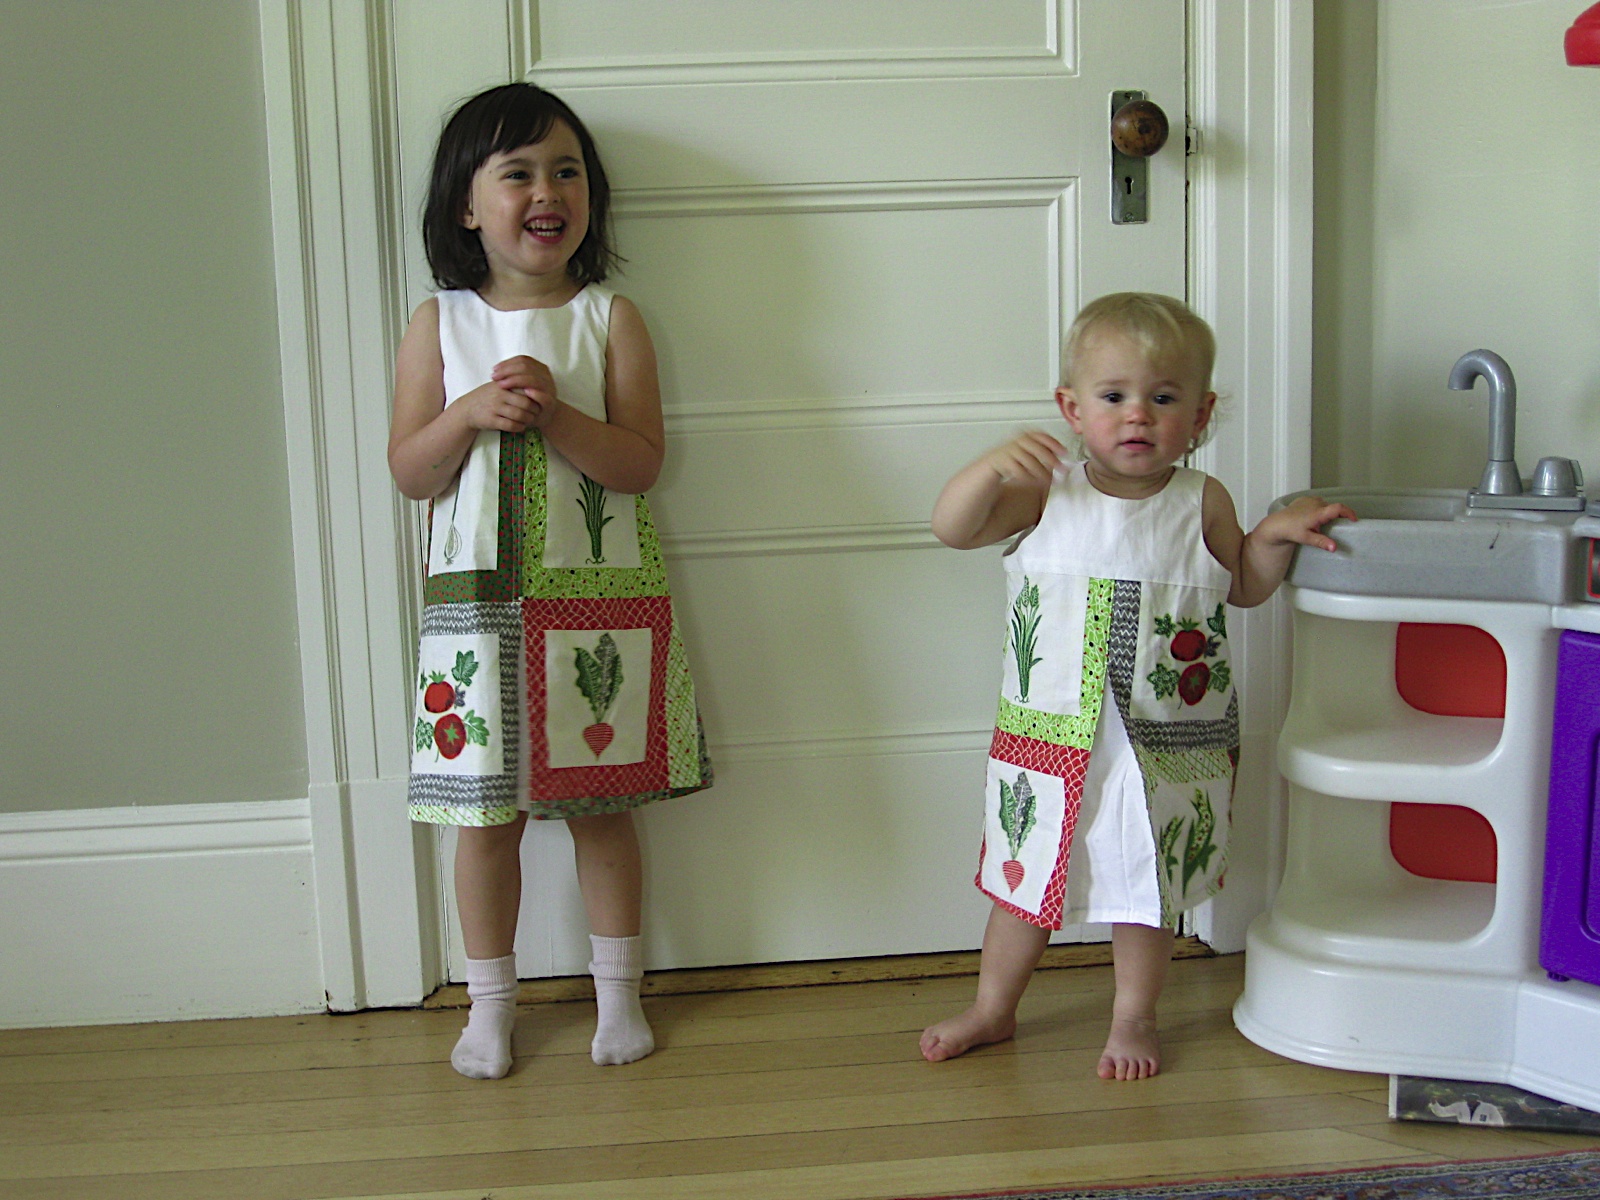
The kids did most of the straining for the first few hours. One of them would ladle the cooked apples up into the hopper, one would crank the screw, and one would plunge with the push stick.


All of them love to sample the fresh, hot sauce coming out the screen. I don't sweat the germs added to the sauce because I'm going to reboil it anyway.


It is amazing how little waste comes out the end of the strainer, which is where the seeds, skins, stems, and anything else that doesn't get through the screen is ejected. For 30L of sauce, I think there was about 5L of waste, which represents about 85% yield by volume (probably by mass too since the packed waste and sauce both have almost no voids). The waste goes in the compost.

Here is a short video of the cranking.


5) Second Cook
After straining, the sauce goes into another pot for a second round of heating. This is to further cut down on any microbes that may have been picked up during the straining step, and to get the sauce hot again to prep for canning.


6) Canning
I had washed all the jars (reused from previous years) in the dishwasher with a high temp finish rinse, taking them out as needed. In my pipelined system, I do about 4 jars at a time. Each is loaded, a boiled newly bought lid is put on, and it goes into the hot water canner pot. When I have four, the rack is lowered into the boiling water and the heat turned up. Once a rolling boil is achieved, I process for 10 more minutes, then remove for cooling. My biggest challenge in canning is that even with the considerable head space I leave, sometimes the sauce bubbles up so much it comes out the lid, which makes a mess and also causes the lid to not seal properly. This jar is typical; you can see the headspace has been eaten up by the expanded and bubbly sauce.


So sometimes I end up re-processing a jar if the lid doesn't pop down after a few minutes of cooling. Maybe I should process for less than 10 minutes... or leave more headspace?

This amount of sauce is enough for our family of 5 for a year, with a few jars given away as gifts.


Mostly we eat it thickly applied to pancakes and waffles, or straight up for dessert. We were down to about 1/4 jar from last year when we made this year's batch.

I'm still at an overall production rate of about 13 minutes per jar, which I would like to improve. My friend Jim Serdy makes double this much sauce in less time, but doesn't do the second cook and is more relaxed about the canning regimen. Saucing is agreeable work, but I would like to further improve efficiency.


September 19, 2014

Two custom cedar storm doors


I needed two storm/screen doors for exterior entry doors at my house. Previously I had bought a custom spanish cedar door with matching storm unit from Vintage Doors, which was very nice but quite expensive. I got a quote from them for these two new storm doors for about $1600, which I felt was going to be painful to shell out. Pricing out two doors worth of 25mm spanish cedar at Anderson McQuaid indicated I would need maybe $300 worth of wood to do the project myself, and there are only a few joints to worry about, so I decided to just build them.

September 1, 2014

Glories of the Past: Vegetable theme dresses


Becky and I got fired up about learning how to quilt. Becky in fact finished a small baby quilt with the fabric she ordered, while I only succeeded in putting together a couple test blocks (so far!). My aim was to make some lovely hexagon quilts, and I ordered some vegetable themed quilting fabric from FatQuarterShop. This came with a panel of fabric with multiple prints on it, as if it were already a quilt. Cutting it up and sewing it back together again to make a quilt seemed silly, so in the spring of 2010 I decided to make it into some little dresses for Child 1 and Child 2.


The panel was not very big, so I made the bodices for these dresses from plain white cotton. For patterns on this project I just sketched them up full size on paper from the girls' measurements. They turned out a bit big, but that has made them wearable for longer.


To conserve the print panel fabric I also included an inverted pleat in both front and back, made with the same white cotton used for the bodices.


This was before I traded my serger and electric machine for human powered antiques. So the edges were finished with the serger, and the seams and buttonholes done with the Kenmore. Buttons are the silver metal ones I love from the bargain bin at Sew Low.


They turned out pretty cute.


My mom and her husband were visiting when I finished these, so the girls wore them on an outing we took downtown to the swan boats.


The vegetable dresses were not particular favorites for anyone, so they were not worn terribly often. But now 4 years later, Child 2 is still able to wear what originally was Child 1's dress, and has been choosing it every week or two this summer. I don't bother to iron it, so the inverted pleats are not folded as nicely as they could be.


Child 2 likes to wear it if we are planning on doing something in the garden, like on this day we picked our carrots:


Here she is trimming leaves off a sunflower plant I took down:


Child 3 is pretending he is "King Sunflower":


A Contoured Hand Rail


One of the last things I needed to do to close out a building permit I opened 6 years ago was to make a handrail for the back stairway from the kitchen down to the back door. There was only rail for a little bit of the stairs when we moved in, but the building inspector said I should have a rail. Of course I had to make this simple sounding project into a complex journey.


The space is challenging to work with, rail wise. The stairway itself would not meet modern code; it is too narrow and the winder steps are not wide enough. I suspect it may also be too steep. Putting a rail in it makes it even narrower and harder to carry things up and down, so I wanted to minimize the passageway width that would be taken up by the rail and wall supports. The slope described by the points where the tread nosing meets the wall changes as the stairs go from straight to winding, which means the rail must also change slope midway up the wall.

A typical home depot stair rail would be much too big for the space. I could have used a dowel rod, but I felt I wanted a profile that was both classic looking as well as narrow. The partial rail that remains in the top of the stairway has a nice profile, and I found a rail with a similar profile at J.P. Moriarty, a small molding shop down the street from me in Somerville which specializes in historical millwork. Unfortunately, the profile I wanted is not a stock part, so with setup charges it was going to cost me about $800 for 8m of rail. The eye watering price combined with a very long lead time led me down the path of thinking: "Hey, I could just make that...". Yeah, we all know how that goes!

The flooring in that area of the house is soft wood, probably flat sawn longleaf pine. To fit in with that, I picked up some lengths of tight grained clear fir from Anderson McQuaid and glued them together to make a cross section big enough for the rail profile.

I made a drawing of the major features I desired on the rail, which I thought I could work using the table saw, router table, some antique molding planes, and sandpaper. I didn't end up making exactly this but it captures the general idea. Units are in Stupid:


Straight Rail
The table saw got it started with a series of 45 degree cuts.


Then a large diameter core box bit on the router table, followed by a large diameter roundover.


Then some hand work with an ebay antique round profile molding plane (which needed a lot of sharpening to make usable),


and a bead profile molding plane


A bit of work with the block plane, and finally some sanding. The fir is quite splintery, which I learned well while hand sanding in the quirk bead with a folded piece of paper.


While perusing the code stuff on the internet, I realized my handrail would not be code compliant; it needed to be thinner at the top and with a deeper inset closer to the top to make it even more grippable. So I had to remachine most of it again the next day after planing it down some more.

The straight rail sections turned out well and they were not that hard to make. So far so good.


Joins and Ends
The inspector said you cannot have the ends of rails hanging in space, they must join to other rails or terminate against the wall. The principle being that your clothes might get caught on a loose end and cause you to fall down the stairs.

Mitering the rail for this would be the obvious thing to do, and that works ok for a dowel rail. But with a profile rail needing to join at corners with the rail at different angles on adjacent walls, the join would be pretty ugly. And in my opinion the most elegant rails have smoothly contoured joins. I aspired to make an elegant rail, even though it is just for the back stairs.

I bought the polished nickel finish rail supports from Crown City Hardware. After consulting some online resources to see how high the handrail should be from the tread nose, I started laying out the supports on the wall. Keeping within the code range, I could make the rail work in 4 segments on 3 walls. This meant I needed two complex joins (for the corners of the walls), one simple join (for the change in rail slope on one wall), and two end terminators.

My big idea for making these pieces "easy" was to glue up cheap doug fir 4x4 from home depot, and to install the rails against the blocks.


Then I could draw in how I wanted the blocks to be shaped to bridge between the rails:


Take them out for shaping, then put the rail back together again.


Then repeat with refinements. A few kinks came up with this plan, as usual..

First of all, since I had to thin the rail for compliance, I no longer had enough meat on the bottom to use a regular handrail connector bolt. If I were doing this again, I would thin the top grasping section, while leaving more material at the bottom for the bolts. My substitute was to use pocket screws.

I wanted to have the rail be removeable for painting, etc., so I made the rail in three sections. Joins within a section were done with a glued spline (later I realized I put the spline grain the wrong way, dang it) and pocket screws with plugs. Between sections, just the pocket screws. This worked ok, but probably not as convenient and effective as rail bolts.


Rough shaping of the joins and ends was easy to accomplish on the bandsaw. But when I got down to the carving needed to make the rail profile on the contoured pieces, I got hopelessly bogged down.

The doug fir was a terrible choice for carving. The grain is widely spaced, with the ring being hard and full of resin, so relatively tough to cut with a chisel. The wood between rings is super soft and doesn't slice but instead crushes and tears like cork. The combination of these two material domains made life extremely difficult. Cutting with a chisel or gouge is hard because the instant you get through the sticky hard ring, the tool plunges into the corky layer and rips it up. Abrasives attack the corky domain preferentially, so after sanding you are left with a ribbed surface instead of a flat one.

I should have just used cherry or something for the entire rail and joining sections. Maybe it would have cost a few hundred extra dollars in wood, but I spent more than this on tools alone trying desperately to solve this carving challenge. Carving the inside curve of the corner joins presented special difficulty since access with the gouge was limited.

I wasted loads of time and money buying, sharpening and fighting with a whole slew of gouges, spoke shaves, and chisels:


Also tried rotary burrs in my die grinder (like a big dremel), but these were far too slow at removing material. Finally I tried a power carving wheel on my angle grinder. The salesman at Woodcraft recommended a spiky tungsten carbide wheel called the Holey Galahad, rather than the chainsaw toothed wheel I had initially gone in for.


This worked very well on doug fir and finally let me make some progress. Still not easy, but I got it into some semblance of the right profile.


Just clamping these sections to work on them was difficult.


Results
Becky had taken the kids to her parents' for the week, and I took vacation to work on the house. I had grandiose plans about all the stuff I could accomplish in a whole week alone at home, but I easily spent half the time struggling with these rail join pieces. Very frustrating! I didn't even finish this rail by the time the family returned. Child 3 helped me do the finishing and a few last reinforcements. Here he is helping me install it.


Child 1 tries out the new rail.


So now the rail is in.


The quality of the carving on the joins is borderline embarrassing,


but I think I can live with it.


Besides, I already spent way too much time on this rail and I can't stomach spending more on it. So I'm going to declare victory and move on. If I ever make another handrail, I'll be in a good position to do a better job with a lot less blundering around.