
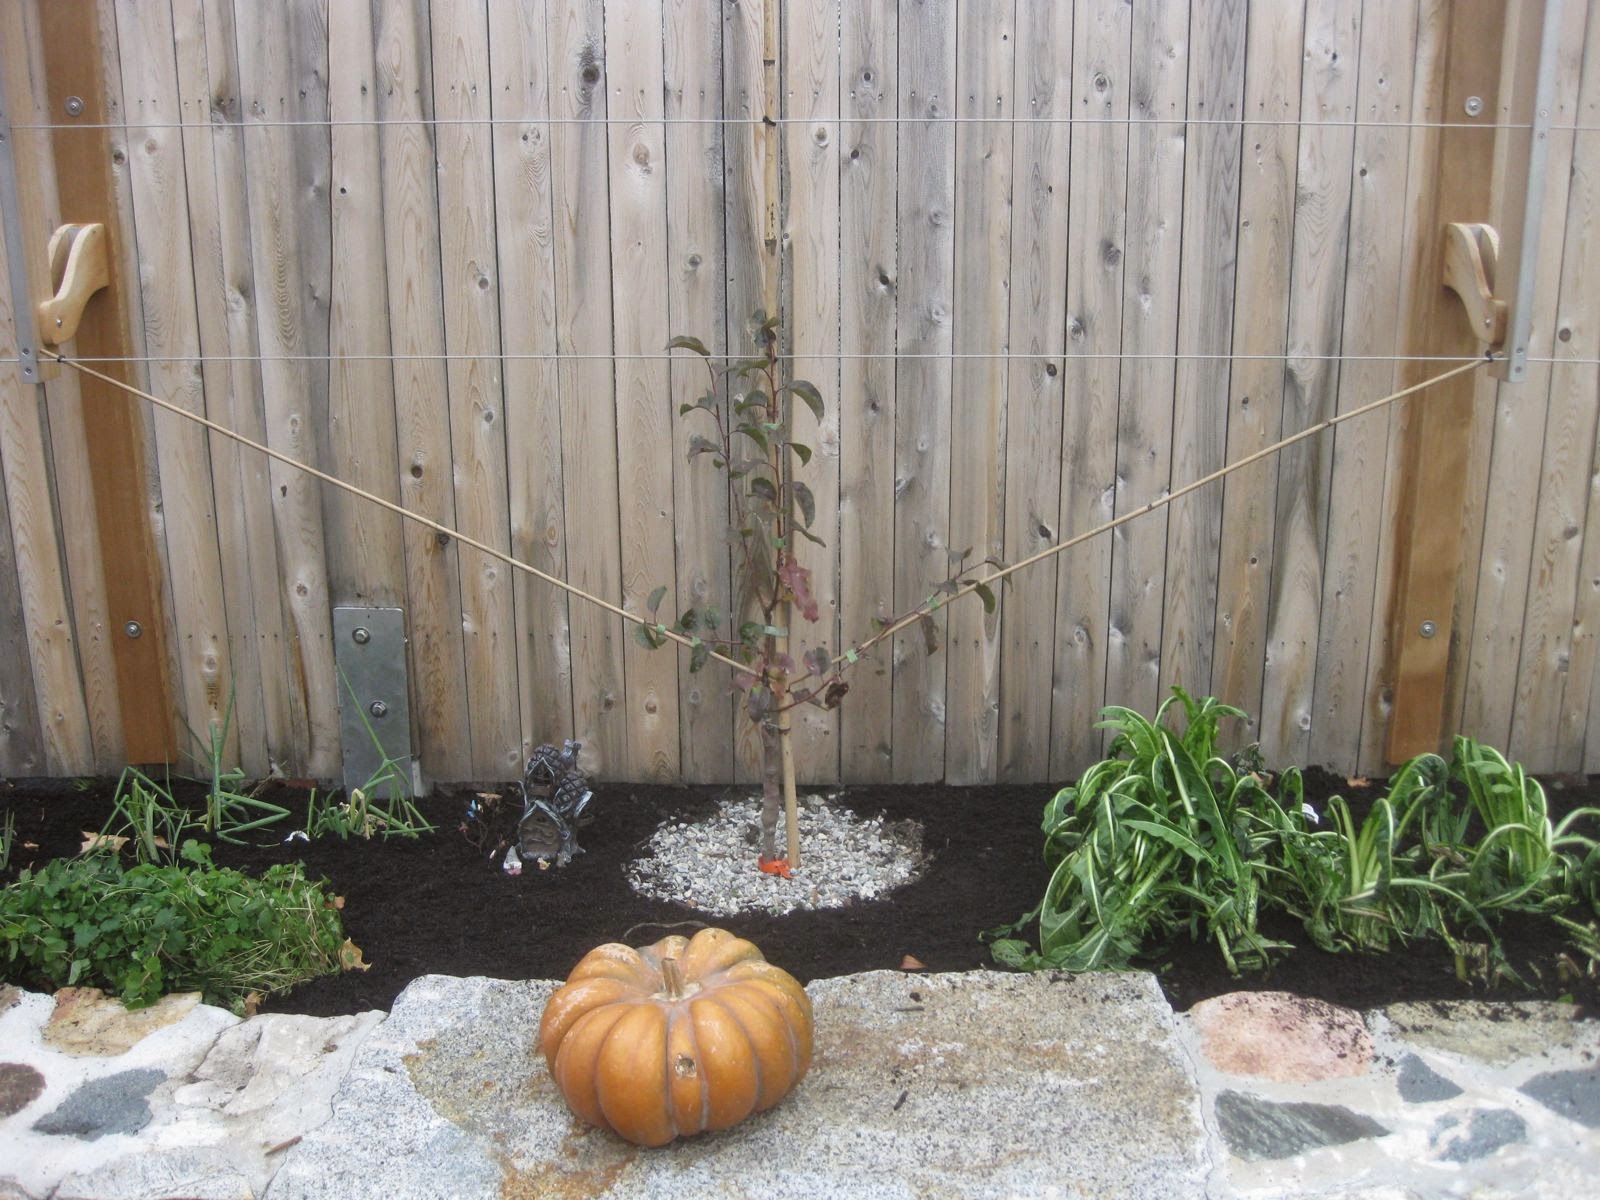
The narrow strip of bed was planned and built, covering about 15 square meters of bed area, or roughly equivalent to the area covered by one mature semi-dwarf apple tree. The back fence was put up, and the seven apple trees and a bunch of companions were planted.
Companions
Many sources recommend letting the apples get established first, then phasing in companion plants. But I decided to just let loose with the companions, which were selected not to be too tall anyway, and with such a small area I thought we could keep things under control as far as invasive spreading goes.
Edible Greens
- Italian Dandelion (Chicory) - These did extremely well grown from seed (Johnny's), and we ate a bunch of them. Becky cooked and froze a whole lot more, and I could have cut a basketful at the end of the season but I didn't to it and the greens were decimated by frost. I wish I liked them more, but they are bitter and the larger leaves are on the stringy side. I'm a little concerned about keeping them under control next season, assuming they come back. Probably they will want to bolt badly and grow tall flower/seed stalks, unlike their profuse but leafy and low habit this year.
- Salad Burnet - Developed into a thick, low bush by the end of the season, with nice looking foliage. Unfortunately I don't think it is much good to eat. The leaves are ok, but they are small and tedious to remove in bulk from the stems, which are on the tough side.

- Sylvetta (wild arugula, hopefully perennial)- Grew in nicely. I love the Wasabi variety; it really tastes like wasabi! Unfortunately it was smothered by the olive leaf and sylvetta types planted next to it. These provided plenty of spicy accents for salad and pizza. The stems are too tough to eat, and it takes some time to pick any volume of leaves.
- Sorrel - Two transplants from Food Forest Farm got off to a slow start but seem to be doing ok.
Herbs
- Sage - made quite a showing, grown from seed. Should have enough for culinary use from now on. Time to grind up some new pork & sage breakfast sausage!
- Madeline Hill Rosemary - grew well during the season, have to find out if it is really zone 6 hardy. I layered in a bunch of hay around and on top of it for some insulation. We had -20C (subzero F) temps before any snow was on the ground this winter, which will be a real test of hardiness.
- Oregano - seeds came up but stayed small, now making a kind of puddle of oregano plants
- Winter Savory - about like the Oregano; not crazy about the flavor
- Chamomile - making a low green puddle like the Oregano. Suppose I should thin this stuff out.
Alliums
- Egyptian Onions - these did very well, and I cut some of them off a few times for green onions. Looking forward to their performance in the coming year. One or two even made a few topsets.
- Green Onions - Transplants from nurseries did well, seeded ones grew very slowly; we'll see if they survive winter.
- Garlic Chives - Transplants did well, seeds struggled. I was not in love with the eating experience; texture too tough maybe? I think I'll move some of our regular chives there between the transplants, instead of encouraging all garlic chives in that area.
- Perennial Leeks - Southern Exposure had issues with their crop, so they sent me a refund check instead of bulbs. Try again next year, in the meantime we put some potato onions from SE in the spot reserved for the leeks.
- Mystery Allium - Planted some topsets which I which I snuck from a robust allium in the front of Red Fire Farm when we visited in June for strawberries and peas. The lady working the farm store said she thought they were "Crawling Garlic". Maybe it is Elephant Garlic? I've not grown it so not sure what it looks like. The leaves of this plant were huge, dark green, with round cross section. The topsets were pretty large, and took off quickly when I planted them in the fall.

Aromatics
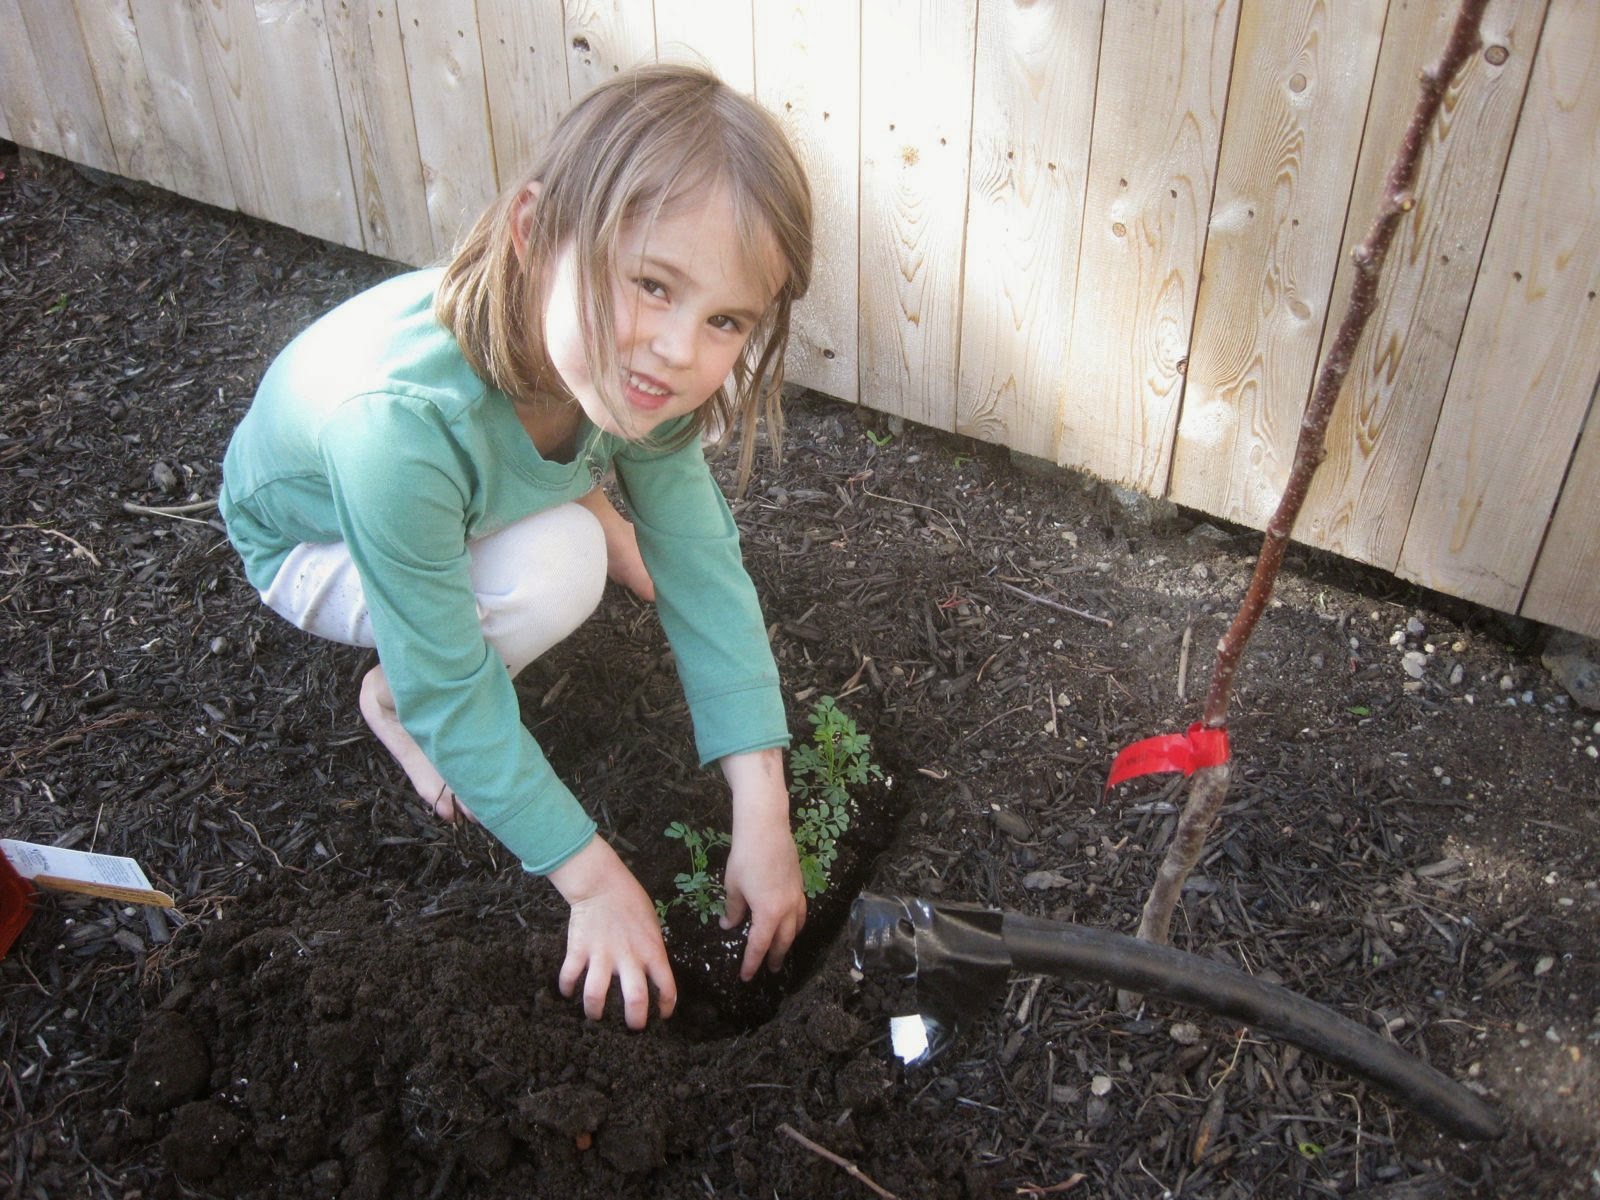
- Rue - I can't imagine eating this stuff; it smells weird. Here is Child 2 planting some from the nursery.
- Artemesia - silver mound; did well. The kids love how fluffy and soft it is early in the season, and like it's smell when crushed.
- Dwarf Tansy - Got two of these from Oikos, which arrived very small and bedraggled looking. They died almost immediately, even though I planted them the same day they got here. Oikos sent me a replacement, but the new ones promptly died too. In general I was not that impressed with what I got from Oikos; super small and unhealthy looking plants. Too bad because they have a great selection of interesting and unusual items, and seem to have a good reputation. Maybe the plants were in the mail too long, or it could be my lack of skill as a gardener.
Flowers
- Oriental Poppy - None of my seeds came up as far as I can tell, so I planted two from the nursery. One died; have to replace it next year with another.
- Baloon Flower - cool looking flowers; started noticing this all over the city once I knew what to look for.

- Columbine - Not crazy about the way the plant looks, probably will replace it.
- Calendula - I love this plant. So easy to grow, a profusion of cheery colored blooms cycling through until frost, and some benefits to nearby plants. If I got my act together more I could collect flowers for fabric dye. Self seeds readily too, but the seedlings are not too hard to pull out where they are not wanted. I read that the greens were edible, so one time I collected a pile of mammoth red clover and calendula greens, which together were tough and bitter. Here is the center panel of the orchard design, after it's sunflower was taken out. Still left in there are some of the Christmas Limas that were growing up the sunflower which I tried to relocated to the trellis, calendula, and tiny Nasturtiums which never got anywhere. On the right are the dandelion greens, to the far left is salad burnet. A little red clover visible by the calendula.

- Nasturtium - Tried to grow it from seed, and it did come right up but then languished and never grew bigger than my hand. Guess I'll go back to transplants from the nursery next year, which I've grown a few times without issues.
- Irises - put in four from Schreiner's, pretty sure one of the Siberians died.
- Bulbs - added tulips and muscari to a few spots in the fall
Sunflowers
I read somewhere about planting a sunflower due south of baby apple trees in their first year, to help shade them during the hottest part of the day. This sounded good, so I planted Hopi Black Dye sunflower. I'd love to harvest seeds from these plants, to make fabric dye and cooking oil. That did not go so well this year, but the plants were neat looking, made tons of pretty flowers, and gave the beans something to climb up.
These started more slowly than the hybrid sunflowers I planted elsewhere in the yard; two are just visible in the lower right of the next pic.

but they just kept going

and going.

and going!

I've seen on a number of companion plant charts that sunflowers and beans are antagonistic, so that may be playing a role in suppressing the beans. But sunflowers look great, and make a wonderful tall pole for beans to climb up, so it is very tempting to use them together. I think the most productive bean varieties were Gita, a green colored yard long type from Johnny's, and either Cherokee Trail of Tears or Black Turtle (something with black beans in pods).

These sunflowers grew way too big for their intended purpose, but they were so cool looking I couldn't bear to take them out. Consequently, they cast a lot of shade on the apple trees. I could claim that was my way of limiting their vegetative growth so they could settle in and get more firmly established in their first year. Yeah, that's it.
The sunflowers also limited air circulation around the apple trees, and made them hard to see so I missed out on some things that would have been good to notice, like pruning and grafting touches that would have been beneficial. Ah well, live and learn. I'm looking forward to growing this variety of sunflower in other locations in 2015; hopefully it will be as successful and I'll be able to harvest significant amounts of seed.
Challenges
Aphids
First thing to present itself was a plague of greenish aphids with ants minding them feasting on the underside of new growth on the apple trees in early spring. I bought a squirt bottle of neem at the garden store and gave them a good dose, which knocked them back. The ants started bringing new aphids in, but I think by then the predator bugs had ramped up so they didn't get too bad.
Missing Branches
On some trees, no buds elected to form and grow in the area where the espalier design would have a branch. It is very frustrating how the trees are not growing like I drew them on the computer! Maybe they somehow missed reading up on my blog post on the espalier design. Helping them to get there is my job I suppose, however bumbling I may be at this point, since they won't do it if left to their own devices. On the central tree to the design, the Wickson, there is a little growth that I may be able to turn around to become the leftwards angle lowest rung, but I decided to try to bud graft exactly where I wanted that rung.
This was done in early august after watching some internet videos. I went with the chip method instead of slipping the bud into the cambium of a slit in the bark because it looked less fiddly.

If it takes, I'll cut off the less well placed one. If not, I'll continue trying to coax the other one into shape.

I somehow failed to notice a glaring lack of growth on the righthand lowest rung on the Ashmead's Kernel. I blame the fact that the tree was hidden by an enormous sunflower for a few months. A chip graft was unfortunately not applied to that location, so this spring I'll try putting a little notch in the bark above a bud or twig in that area, hopefully invigorating growth just below the notch. I'll try putting the notch in above the chip graft on the Wickson too.
Extra Branches
After the initial pruning, I did pinch a couple little growths (and the flowers, after petal fall). But I wasn't sure I should keep harassing the trees through the season. I guess I should have done so; the extra pruning might have invigorated some bud action to help with the missing branches issue. Once the sunflowers got going, it was hard to see the apple trees, so easy to miss branches that would have been better off getting snipped. Oh well, I'll take them out with this year's dormant pruning.
Cedar apple rust
I noticed some tiny yellow spots on some of the leaves early in the season. These grew, and eventually started sprouting horns on the bottom of the leaf.

Ah, my first real apple disease! After some research, it looked like cedar apple rust, which I had never heard of before. It was not bad enough to defoliate the trees, but it was quite widespread on some of them. I think the worst hit were Wickson and Gold Rush, with some of the others suffering more mildly. I recall the best off was Ashmead's Kernel. If only I had kept better notes, which is a goal for 2015.

This disease is fungal and has an interesting life cycle. It lives on apple leaves during the growing season, but does not overwinter there. Instead it sporulates and infects a tree in the juniper family. On the junipers, it forms bizarre galls like spiky, slimy christmas ornaments in the spring and sends out spores to infect newly grown apple leaves (image below from the Wikipedia entry on CAR).

I'd like to strive to not spray poison on the plants and soil I'm trying to use to grow food. I figure I can tolerate non-perfect fruit and extra effort more than a market grower. Still, this leaves only a couple options for control of this disease. Once the fungus is in the tree, there is not much to be done for that year, so all treatments focus on the early spring period when spores do their infecting. On the plus side, the tree must get newly infected every spring, so every year is a fresh chance to try a new strategy.
I own a copy of The Holistic Orchard by Michael Philips, and am impressed by his ability to grow apples organically on a commercial basis. He recommends focusing on developing healthy plants and soil, such that the trees can better resist pest and disease pressure. This is accomplished partly by having deep experience with apples, the local microclimate, what different issues look like, and boundless intuition about what the trees need at any particular time. Maybe someday I'll have that, but for now I'm a clueless amateur.

One of the important tools in Michael Philips' routine is his holistic orchard spray, which has neem, kelp, effective microbes, and other components. The neem can act as a fungicide, but it is also an insecticide so can't really be applied while the blossoms are open, which unfortunately coincides with the rust infection window. You don't want to mess with the bees coming to pollinate the apples, right? So Philips says to spray the holistic brew at 6mm green, early pink, petal fall, and first cover.
Apparently sulfur can also be helpful. I don't particularly want to spray copper, since I'm concerned about it getting on the other edible plants around and building up in the soil. There is a product called Serenade which is based on soil bacteriums which sounds promising, is listed as compatible with organic methods, and is low toxicity to humans (can be sprayed even on the day of harvest).
The best method for control of cedar apple rust is to remove all cedar and juniper trees for a few miles around. Ha. That radius is bigger than my whole city. My next door neighbor has a nice big cedar tree in his back yard, maybe 10 meters from these apples.
So this coming season I'll try the holistic spray regimen, along with plenty of water and care. Perhaps the additional air circulation and sunlight would have helped with no sunflowers this year, but they were not big enough to be a factor during the spring infection window. They may however have encouraged the fungus to grow more extensively during the season.
I am not planning on letting the trees make fruit for another year or two even if they want to, so I've got more leeway to experiment. If the trees are still suffering from CAR in a year or two maybe I'll experiment with sulfur or Serenade.
Borers - none yet
I tried to keep an eye out for evidence of apple borers, but didn't see any. From what I read, this is the worst possible thing to hit the trees, so if I can catch them early and kill them in their hole it might not kill the tree. I'll keep my fingers crossed.
Orchard care
After planting, I pruned with an eye towards my future espalier design. After watching how things developed I would do it a little differently now. The trellis was put up, and in late summer I applied a little patch of peastone mulch around each tree, as recommended by Michael Philips but scaled down to micro tree and orchard size.
Gearing up for the end of season holistic orchard spray, I ordered a backpack sprayer from Sprayer Depot, and the ingredients from Amazon. I mixed up a half tank of the stuff to spray on the trees at the end of last season. Whew, pretty strong odor! Liquid fish and neem oil are both pretty powerful on their own, much less mixed together. Well, the trees only used like 100ml of the spray, so I ran around the garden spraying other woody perennials and soil with the remainder. I've got enough ingredients to last me like 10 years at this rate. Probably I'll make up 1/4 tanks from now on, until the trees get a lot bigger.

I tried to work out the holistic spray recipe by volume, then translated to %, then to ml, then rounded to the nearest cup measure. Here is what I ended up with:
- 8L or half a tank of warm water
- a bit of doctor B's or homemade rosin liquid soap
- 1/2 cup liquid fish
- 1/4 cup effective microbes (EM-1)
- 1/4 cup molasses
- 1/4 cup kelp
- 1/8 cup neem
I filled the warm water inside, added a dash of soap, then took the sprayer out in the dooryard to add the other goodies. I used a 1/4 cup measure, just filling half full with neem and using two measures for fish.
The whole bed was frosted with some woody compost from Landscape Express, with some help from Child 2 and Child 3.

I worry about giving the trees too much nitrogen, leading to too much vegetative growth in a season, opening the door to disease and pests. But you know, a person can only do so much worrying about 7 tiny apple trees.

Finally, I spread some salt marsh hay over the beds and put corrugated trunk guards on the trees.


