

Last weekend I had mixed up a batch of 70% hydration french bread type dough with 1000g of flour, and Violet had asked if we could make english muffins. So we used some of the dough to make muffins for breakfast on Sunday, and they were such a hit that instead of making baguettes we turned the rest of the batch info muffins Sunday afternoon. All in we made about 30 muffins, which had disappeared by Wednesday. The kids are really, really into them, and are begging to eat them for every meal. I don't know how long this will last, but we resolved to make even more english muffins this weekend.
Making english muffins is pretty easy, at least the way I do it. Basically you make up rolls, then cook them on both sides in a pan and finish off in the oven if needed. It ends up being more work than turning the same dough into fewer but bigger loaves, but not tremendously so.
To prepare for making a new load of muffins, I initiated a 1500g flour batch of the french bread type dough on Friday night with a starter consisting of 850g water, 850g flour, and 1/8 tsp instant yeast. I've lately been making this dough by putting in the total water dose for 70% hydration in the poolish and matching it with an equal mass of flour. Then the next day, I add the remaining flour, salt and yeast. So what I should have done for a 1500g batch was 1050g water and 1050g flour.
Saturday morning, we added 650g more flour, 4tsp salt, and 1tsp instant yeast, and kneaded in the KitchenAid. It quickly became obvious that I had miscalculated the water, so I put in more until it looked more typical for 70% hydration, probably around 200g. We kneaded for 10 minutes, then left it on the counter to rise. Throughout the day, I poured it out on the counter to do a stretch and fold, total of three times, then refrigerated it until Sunday morning. The multi-day process time with long rises allows a wonderful, slightly sour, flavor to develop.
On Sunday, we took the dough out of the fridge and divided into 48 lumps.

These were formed into rolls and left to proof on the counter for about an hour.

I fired up the griddle and the big cast iron pan to get through the cooking faster. I've been using semolina flour as a release coating for the pan rather than cornmeal, which ends up being rather crunchy when chewing the muffin. Flour would also work, and I think with seasoned cast iron or teflon you don't actually need a release layer, but I think it looks nice so I put it on.
My procedure is to pick up each lump of dough and plop it down on the semolina scattered pan, same side down as it was when proofing, demonstrated here by Violet.

After fully populating the pan, I scatter some more semolina over the tops, and press on each lump to flatten it out a bit.

These cook on medium high heat until one side looks toasted. Probably the need for oven finishing would be obviated by cooking on a lower heat for a longer time, but throughput is enhanced by using higher pan heat. When the muffins are flipped, I press them down again to smoosh the lower uncooked dough out to the same diameter as the toasted top section.

The bottom side gets toasted before the middle is fully cooked, so the next stop is for about 5 minutes in a 230C oven.

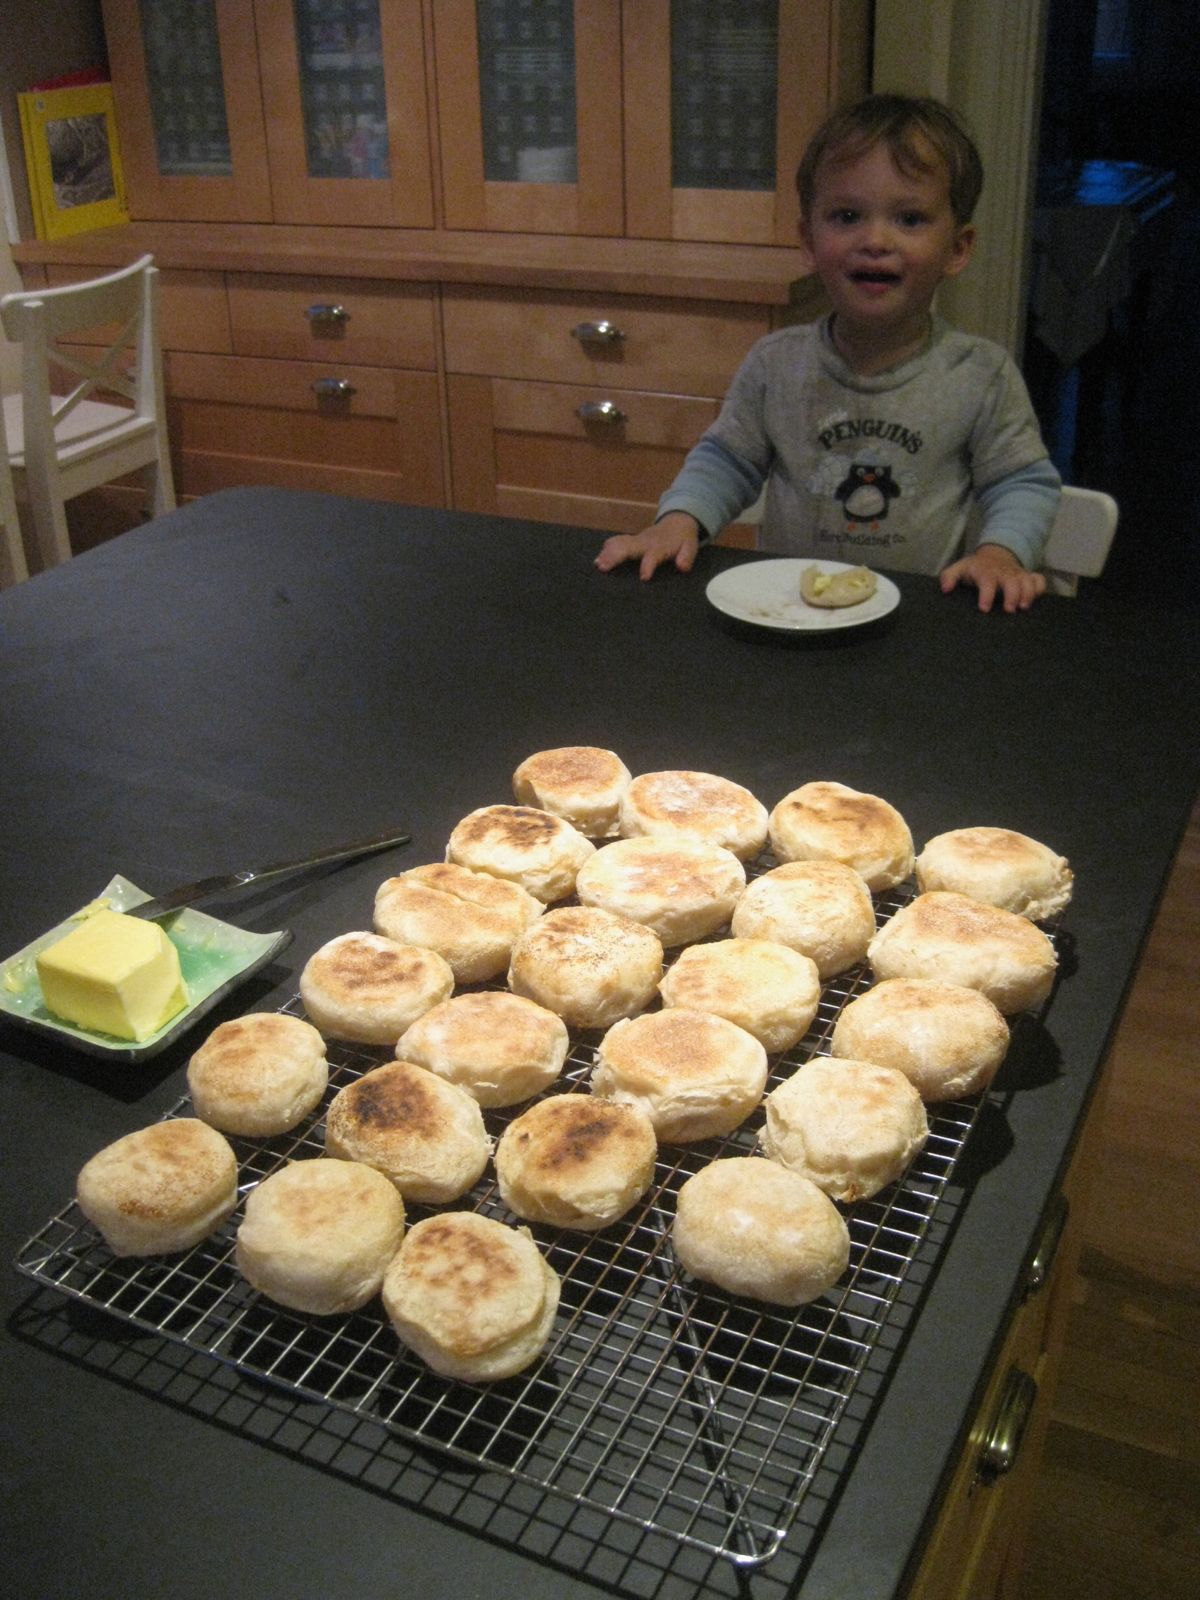
Here is the latest muffin batch cooling on a rack on the counter.

The typical way we eat these is to stab with a fork all around to separate into two halves, toast, and slather with high quality salted butter.

One thing that makes them great for the kids is that they travel well. They can run around the park with them in their hand, and they don't get crunched like sandwich bread when bouncing around a lunch case with other stuff. Plus I think the form factor is somehow alluring for the children. We'll see how long they stay enamored with this form of bread.
For an extra treat, this Sunday we fried up a bunch of our second slab of home cured bacon, which we had smoked on Saturday. A fresh muffin, toasted and buttered, with a piece of home made bacon and home grown spouts, washed down with black french roast coffee. Ahh, heaven!

4 comments:
It all looks absolutely delicious. No wonder the children want more of the buttered muffins every day. I noticed the rectangular baking stone. I think I would really like one of those-will have to try to find one. I have considered getting a pizza stone after using one at my daughter's but think I'd find one like you are using more helpful.
Tasty looking. Home cured bacon - I'm trying not to drool.
Thanks for sharing! I'm inspired to try making muffins again ..... have never quite mastered the technique, but your detailed description should help a lot.
Have you tried making bagels?
I have made bagels a couple times in the past - they turned out pretty well, but certainly fell short of a good, fresh bagel made commercially. Plus they are a ton of extra work vs. baking the same dough into a loaf of bread. But once in a while its fun to do.
Post a Comment