Another wonderful year of cider, and a record breaker for quantity. Ben's writeup is
here.
Apples
This has been an amazing year for apples, at least in Massachusetts and Maine. All kinds of trees from grafted and indulgently raised orchard trees to scraggly survivor seedlings in the woods were loaded up with maximum crop.
As usual my family went picking at
Red Apple Farms in Philipston, MA.
We picked about 40kg of excellent tasting Roxbury Russets off a tree up past the pumpkin patch which is rarely bothered by other u-pickers.
Maybe they think this apple is too ugly? My kids all declared that Roxbury Russet is now their favorite apple.
They had previously said that about Honeycrisp! The RR from this tree did taste especially fine this year.
The kids do like the barbecue lunch, goats, hay rides, and cider donuts at RAF. We also picked our pumpkins for jack-o-lanterns.
But every year it seems to get a bit more crowded and circus-like. Becky and I are reluctantly thinking of trying someplace else out next year...
We walked across the street and picked about 40kg of Rhode Island Greenings, on the theory that we are usually short on acid with the hard cider mix and would be more so if we used Dabinett rather than Kingston Black. Greenings should bring some more acid in, though the quantities we pick on this outing are more symbolic than substantial.
Later on at home we turned some of our Greenings and Rox. Russetts plus some loose extras into pie fillings for the freezer.
A fair bit of watercore in evidence this year from a number of sources; I wonder why?
Next up, I arranged for two bins (540kg) of seconds from
Autumn Hills, which we have done for a few years now. The owner, Ann, was happy to oblige and Ben met me there to pick up the apples in his red truck one friday morning. The bins were full of a nice mix of Macs, Macoun, Spencer, Honeycrisp, Cox, Yellow Delicious, and others. There almost a bushel of pears mixed in too. Here is Ben loading a bin into his truck, while eating an apple.
That same weekend, Ben drove to
Poverty Lane in New Hampshire to pick about a bunch of Wickson, Bramtot, Kingston Black and others, plus most of a bin of Dabinett.
This would already be a lot of fruit, but Ben's parents picked a huge amount of wild and feral apples from around Georgetown island in Maine, and many people showed up to the event with significant quantities of apples.
So all in, we probably had close to 1600kg of apples.
Cider
Apple processing flow and machinery were almost the same as
last year, with enough hands to man all stations. The process begins with debinning and organizing which apples will go in when. Little kids like to help with loading from the bins.
The biggest labor sink at present is the washing and trimming we do before the apples go to the grinder. Often we have 6 or more people on this.
Working with bare hands in cold water to wash and trim apples or washing bottles outside is crucial but tough, especially when the weather is cold.
Grinding needs 4 people, two for providing pedal power, one to load apples, one to feed them with a pusher stick.
Pressing uses 4 or 5 people. Two people to load macerated apple mush into cheeses, one person to ride the hydraulic power bike, one to hand operate the bilge pump to move cider from the output catcher into the conical bulk tank. Extra people to help unload pressed pomace out the window into the bucket of the waiting tractor, more people to bottle from the bulk tank.
We set up Ben's nifty double barrel counterpressure bottler and all the associated equipment to move what was left of the 2014 hard cider from carboys into cornelius kegs to be chilled and force carbonated, then through the counterpressure rig into mostly 750ml glass bottles with crown caps. Much cider was bottled before the capper broke and we had to leave a half tank for next time. I brought a bunch of labels printed last year with adhesive applied, but we didn't even have time to put them on.
As a result of the ridiculously profuse apple year, we had a lot of apples, and a lot of cider. Ben pressed (ahem) everyone to take as much cider as they could home, but we still had a surplus. So more is getting fermented than usual, and the rest got stuffed into freezers. Here is the Wilkins party with a wagonload of cider to load in their car.
Analysis
Ben got a refractometer this year, which was cool to use. It will be interesting test and pay more attention to sugar content of various kinds of apples and juice blends. Auto correct on Ben's phone refused to let him use "refractometer" in a text to me, instead making it into "refract omelet" and then "refract Peter".
At Ben's prompting, I picked up some narrow range pH paper from the brew store to try to get a better handle on acidity.
We measured apples from one unmanaged tree in Five Islands at 22 Brix! These were gathered by Ben's dad from a tree near Indian Point, and were great looking smallish russets. Nice texture too. Ben thinks it must be a seedling because of the tree location, though the apple made me think of the descriptions I've read of Pomme Gris. The clean look of the fruit, high Brix, and good eating make me want to graft it into the micro-orchard in Somerville at some point. I think Ben said he already put some on a tree at his place near Portland.
The two bulk tank blends measured out as:
Hard Blend
3.8 pH
1.055 - refractometer (13.6 Brix)
1.053 - hydrometer
Sweet Blend
3.5 pH
1.048 - refractometer (11.9 Brix)
1.050 - hydrometer
I didn't write down the Brix numbers, but instead read the density scale on the instrument so we could compare with the hydrometer readings. The Brix numbers above are generated from
this online calculator.
The difference in pH was readily apparent by taste, and the hard blend did taste sweeter though it is not easy to decouple the two dimensions of sweetness and acidity. Of course the hard mix had noticeable tannin, but not an overpowering amount.
Besides acid and sugar, the third major component in a hard cider blend we spend mental energy thinking about is tannin. Not nearly as easy to measure. But I did turn up a
procedure online using indigo carmine dye and potassium permanganate, called the Lowenthal Permanganate Titration. I looked up the chemicals at Sigma-Aldrich but they were expensive and not trivial to place an order for. But ebay came to the rescue and I got both critical ingredients for less than $20 from Online Science Mall. It also calls for sulfuric acid, but I am hoping I can substitute a more readily available acid or else get some locally.
Press Cloth
This year we replaced the motley assortment of old press cloths with new ones of uniform and correct size to make press loading more convenient, and so we can use the old set to make awesome clothes. I wanted to have done more with this already, but so far I've only got it together enough to make
Child 3 and
myself a pair of pants, plus a cap for me. Becky used a little cidercloth to be the wings for Child 3's flying vampire mouse costumer for Halloween too. She did an awesome job on costumes. The only thing I did this year was make a mouse tail for Child 3's costume out of cider cloth scraps.
I'm hoping to show up to cider one of these years with matching outfits for the whole family! Here is a photo by Eerik Hantsoo of me in my cider dyed outfit peeling apples for crisp with Child 2.
For new presscloths, they needed to be about 120cm square (48") and fairly stout to survive the pressure in a single layer configuration. I bought and hemmed one cloth worth of three different weights of unbleached cotton canvas for evaluation, 10oz, 12oz, and 14oz, all from
Fabric.com. For reference, Carhart overalls are listed on their website as being 12oz. After feeling the fabrics, we determined that 12oz was probably the way to go, so I bought a long piece of that and turned it into 7 press cloths with some ironing, washing, and hemming. We put the 10oz and the 14oz into service too, to see how they did. We had one rupture, and it was in the 10oz cloth. So that is not sturdy enough for single layer service.
A few edge finish styles were evaluated (I don't have a serger, having given mine away as part of a resolution to use only antique human powered sewing equipment). I tried rounding the corners and binding the edge with Hug Snug rayon seam binding fed through a binder foot. This was ok, but time consuming and prone to error. I also tried binding the edges of another cloth with bias cut silk ribbon. This too took a lot of extra time. So the default solution of a double fold over and stitch down was selected for most of the cloths.
I also made up a double length cloth from white 6oz poplin from
Dharma Trading Co., intending for it to be used folded in half. The thinking was that in it's second life, 12 oz press cloth will make nice heavy duty pants, but be rather coarse for little dresses and finer garments. Anyway, due to oversight that piece of cloth didn't make it into the rotation, which Ben realized on Saturday night.
There are a number of open questions about the nature of the deep golden brown the old press cloths have taken.
How wash fast will the color be?
So far Child 3's pants have been put through a regular wash and dry cycle a number of times and while the color has shifted, it has not yet faded. It has gotten less reddish yellow and more brown.
How light fast?
Not sure on this one, but I've worn my pants maybe 20 times so far and so far they are holding up.
How long does it take the color to develop?
The cloths we used for the first time this year already have pretty good color, though probably not as deep as the old set. I'm sure it partly depends on the weave and weigh of the base fabric.
Could the color be developed without actually using it as press cloth?
To address this question in a year of surplus cider, Ben tried dunking the forgotten 6oz cloth (which he refers to as "future ladies undergarments") in a tub of sweet cider. It turned a sort of butter color, which is appealing, but not the color of even the once used press cloth.
We speculated perhaps it has to do with the cycling in and out of cider with some oxidation in air in between. Ben took the length of cloth in and out a few times, but it didn't seem to change the color much.
My current mental model is going in the direction of the high pressure transmission of cider through the cloth being important. Maybe minuscule bits of material which later act as pigment are forced deep into the fibers as a result of many liters of cider passing through the cloth under pressure. What is surprising is that they don't necessarily come out in the wash... but we don't have long term observations on that quite yet.
Food
Food was wonderful as usual, with black bean burritos being served up in the barn on Friday night, breakfast burritos on Saturday morning, and Nebraska cream can for lunch. My family signed up to make the bulk of dinner on Saturday as we usually do, but we have gotten lazier than in previous years. We did a repeat of the meal from last year because it was good to eat, made good leftovers, and was relatively easy to make. Dinner consisted mainly of cornbread, chili, and apple crisp.
A neat addition to the pedal powered menagerie in Five Islands this year was a Country Living grain mill Ben had purchased to mill up a bunch of seed gathered from buckwheat he had grown on the orchard as a soil improving cover crop. I had not seen one in person before but the Country Living mill is a quality item and does it's job much better than my old
CS Bell Co. #2 (though mine looks awful nice as a decoration in my foyer when I'm not using it). The CL mill came with a V groove sheave on it as the handwheel, so it was practically begging to get a bike hooked up.
The manual cautioned against running the mill too fast, so we decided to run the bike chain up to a freewheel on a jackshaft, then from a V groove pulley on the jackshaft to the mill. This allows adjusting the gearing ratio more easily, though without a derailleur it is still no picnic to change the ratio on the bike chain side. I found a company online called
Staton which sells the crucial item needed for hooking bikes up to arbitrary machines for power input: a keyed shaft to freewheel adapter. For about $10 I had one in hand within a week. It didn't feature a set screw, so I got cheap aluminum shaft collars to go on either side of if from McMaster. Between Ben and I we had rounded up all the necessary machine parts to make do the project prior to arriving at cider.
Dave had knocked together a wood stand for the bike and mill, and a number of us mounted the mechanical components and had it running reasonably by late morning on Saturday.
Joshua and Ben W. even fit it up with a basic guard to avoid snagging passing toddlers (not yet in place in photo below).
We first ground up the soft white winter wheat for cornbread, then the blue flint corn. The corn was passed through once with the burrs far apart to crack it, then again with a finer setting to make cornmeal.
Emily, Ben, Kelsy, and a few others then dehulled the buckwheat and ground the groats using the CL mill.
More details at
Ben's blog. Child 1 wanted to keep the buckwheat hulls to make a pillow. We ate 100% Five Islands grown buckwheat pancakes on Sunday morning, with Five Islands blueberries and home made maple syrup. Outstanding accomplishment!
Adjusting last year's cornbread volumes resulted in two trays of cornbread which fit perfectly in my trays and made enough for dinner on Saturday and lunch on Sunday. This recipe is for ONE pan, so I made two of these in two bowls to go in two pans.
- 900g corn
- 450g wheat
- 140g whole chia seed
- 220g sugar (might reduce this next time)
- 72g baking powder
- 32g salt
- 1.5 cups (28 TBS) unsalted butter
- 9 eggs
- 1600g whole milk
Grind grain, mix up dry ingredients. Work in room temp butter. Add wet ingredients, mix, dump in parchment lined and greased pan. Bake for about 45 minutes at 200C (400F), until a tester in the middle comes out clean. Crust will be deeply brown.
Becky made 8 recipes of her regular veg. chili, which was enough for dinner and not quite enough for lunch on Sunday.
For crisp, we used a 20L bucket of mixed apples from Ben's orchard at Five Islands. Super cool that these trees are beginning to kick out some useful amounts of fruit! They were a little tricky to peel in my Reading patent antique peeler because they had dimples and blemishes.
But they tasted great, if a bit on the tart side in aggregate. There were a bunch of Redfield in there, which lent a neat color, but are very tart and some might have felt a little more sugar wouldn't have gone astray. The cored and sliced apples were divided among 6 pans with no extra sugar beyond that in the topping, just some cinnamon sprinkled on.
The topping was equal volumes of flour, brown sugar, butter, oats, and nuts. About the equivalent of 12 pie pans worth; Becky thinks she used 8c of each of the 5 ingredients. There was even some leftover for breakfast on Sunday.
Scene
Friday night was cold and windy, so dinner was burritos cooked and served in the big barn. We kept a fire burning most of the night in our cabin, but it got pretty brisk in there when the fire died. Saturday started out cold but got to be fairly nice later on with the sun shining.
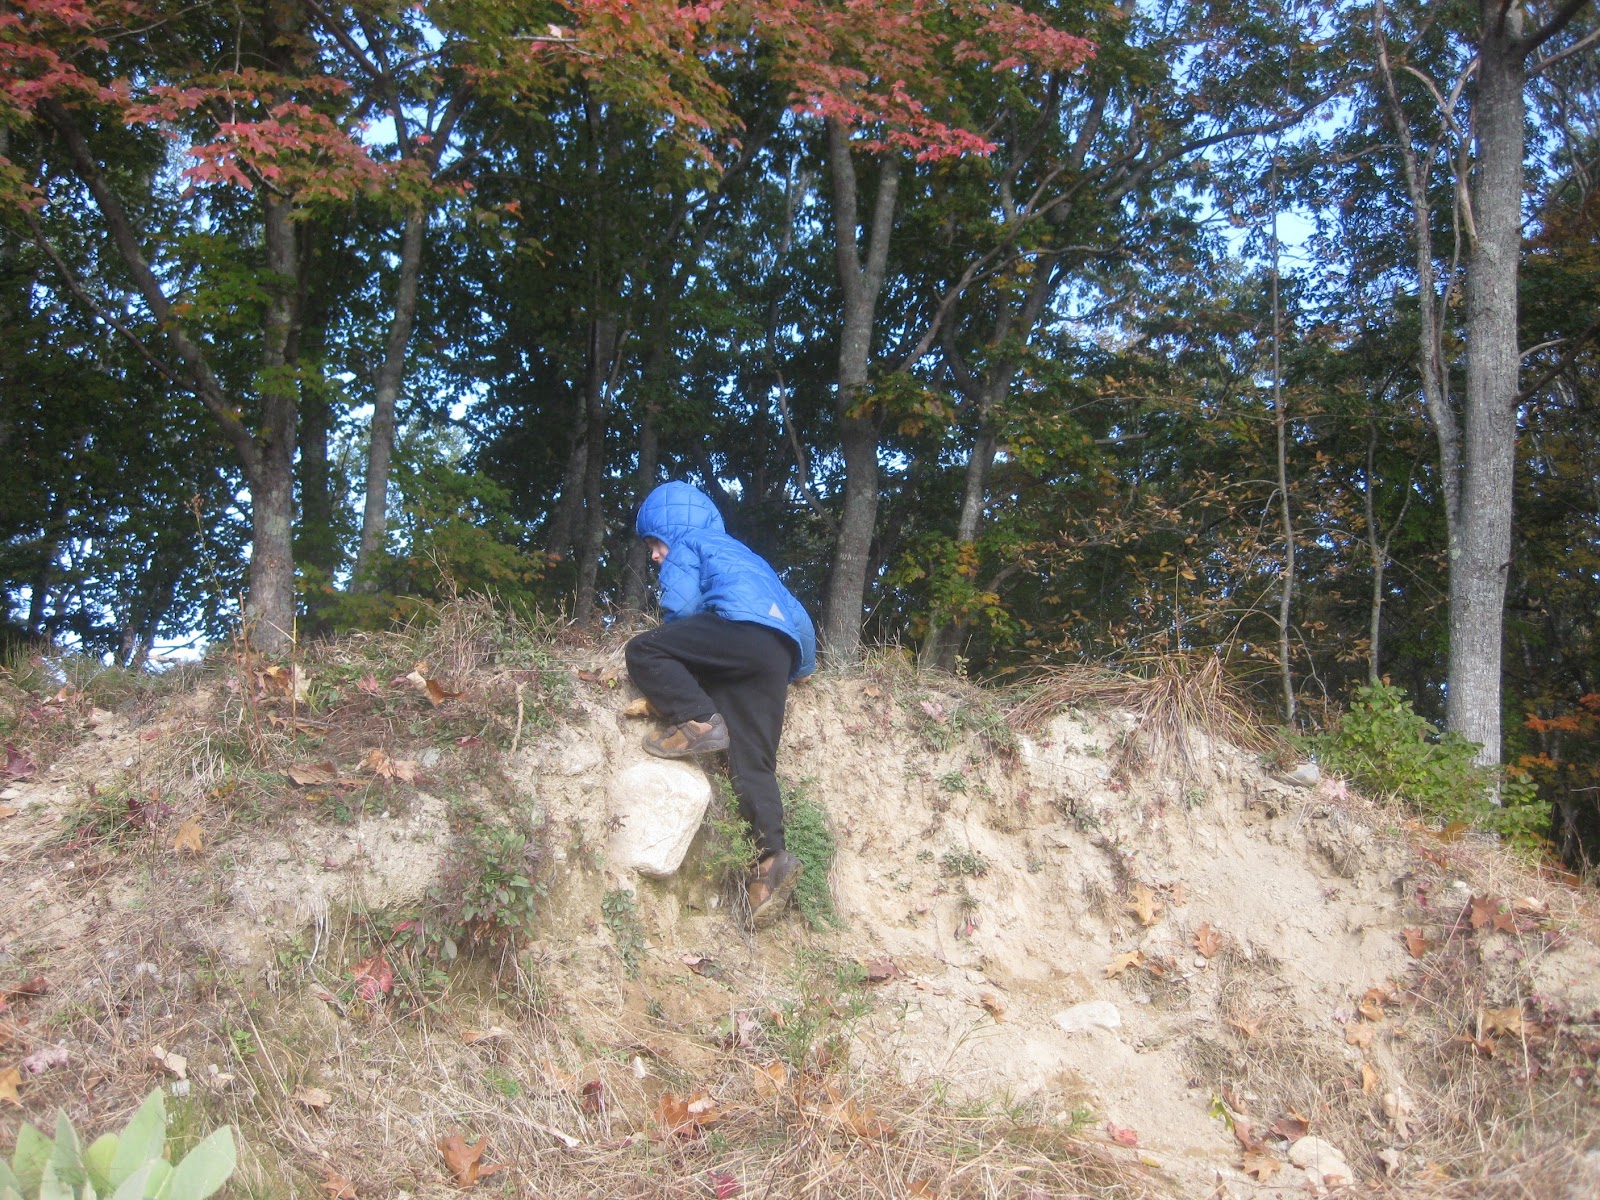
My kids took my camera and ran around for a while.
It was fun to see the pictures they took.
It makes total sense given their height, but kids seem to spend a lot of time looking at bums.
One thing that made staying at the lower cabin more convenient was a little porch potty we made from scrap wood to accompany a 20L plastic bucket, for people to pee in at night without having to walk over uneven ground in the dark to the outhouse. Here is Child 3 putting a coat of finish on it with grandma.
We probably had too many apples for our current cider setup. There was still more fruit to process by dinnertime, whereas in other years the apples were done in the afternoon and there was time to clean up and hose out the barn before dinner. So the flow of activity was more frenzied and less smooth, and went on for longer. Ben and a few others were up late cleaning up Saturday night, with some rain expected Sunday morning. Activity was so intense that there was no chance to take a music playing break.
Sunday we ate leftovers in the barn and did some more cleaning up. Packed the Zipcar minivan absolutely to the brim and headed back to Boston.
Brewing
We made a lot of cider this year and there were maybe a few less people than in some times gone by. I ended up taking home more cider than usual to try to make a dent in the excess. I rented a minivan from Zipcar to be able to take my mom, who was visiting, and all our stuff. On the return trip I had extra plastic carboys under people's feet, all the spaces around and under seats were stuffed with 2L bottles of sweet cider. Becky and the kids ran around the neighborhood making some sweet cider deliveries on Sunday night, and I had to pack the freezer pretty tight with the remainder. A couple jugs came to work with me to share.
The cider for fermenting went into my glass carboys after I got home and had sulfite put on them. I took an extra plastic 20L jug of cider, so all 7 of my glass carboys are going to ferment. I'll have to get an extra to allow racking to secondary fermentation (or maybe use a sanitized empty corny keg).
A small jug of sweet cider was boiled, cooled, then put into a 2L bottle with a pack of the yellow label Pasteur Champagne yeast and topped with an airlock.
Monday night I divided this starter among the 7 carboys and installed airlocks on all of them. I left a halogen work light on for a few hours under the carboys to take the chill off and help them get started. A couple of the carboys are off to a slow start and one has a whitish skin on the top of the liquid. I dumped another pack of yeast in these; have to see what happens in there. Maybe greater volume of starter next time.
Another great year of cider! Thanks to everyone who helped it happen, most especially Ben and his family.