One of the last things I needed to do to close out a building permit I opened 6 years ago was to make a handrail for the back stairway from the kitchen down to the back door. There was only rail for a little bit of the stairs when we moved in, but the building inspector said I should have a rail. Of course I had to make this simple sounding project into a complex journey.
The space is challenging to work with, rail wise. The stairway itself would not meet modern code; it is too narrow and the winder steps are not wide enough. I suspect it may also be too steep. Putting a rail in it makes it even narrower and harder to carry things up and down, so I wanted to minimize the passageway width that would be taken up by the rail and wall supports. The slope described by the points where the tread nosing meets the wall changes as the stairs go from straight to winding, which means the rail must also change slope midway up the wall.
A typical home depot stair rail would be much too big for the space. I could have used a dowel rod, but I felt I wanted a profile that was both classic looking as well as narrow. The partial rail that remains in the top of the stairway has a nice profile, and I found a rail with a similar profile at
J.P. Moriarty, a small molding shop down the street from me in Somerville which specializes in historical millwork. Unfortunately, the profile I wanted is not a stock part, so with setup charges it was going to cost me about $800 for 8m of rail. The eye watering price combined with a very long lead time led me down the path of thinking: "Hey, I could just make that...". Yeah, we all know how that goes!
The flooring in that area of the house is soft wood, probably flat sawn longleaf pine. To fit in with that, I picked up some lengths of tight grained clear fir from
Anderson McQuaid and glued them together to make a cross section big enough for the rail profile.
I made a drawing of the major features I desired on the rail, which I thought I could work using the table saw, router table, some antique molding planes, and sandpaper. I didn't end up making exactly this but it captures the general idea. Units are in Stupid:
Straight Rail
The table saw got it started with a series of 45 degree cuts.
Then a large diameter core box bit on the router table, followed by a large diameter roundover.
Then some hand work with an ebay antique round profile molding plane (which needed a lot of sharpening to make usable),
and a bead profile molding plane
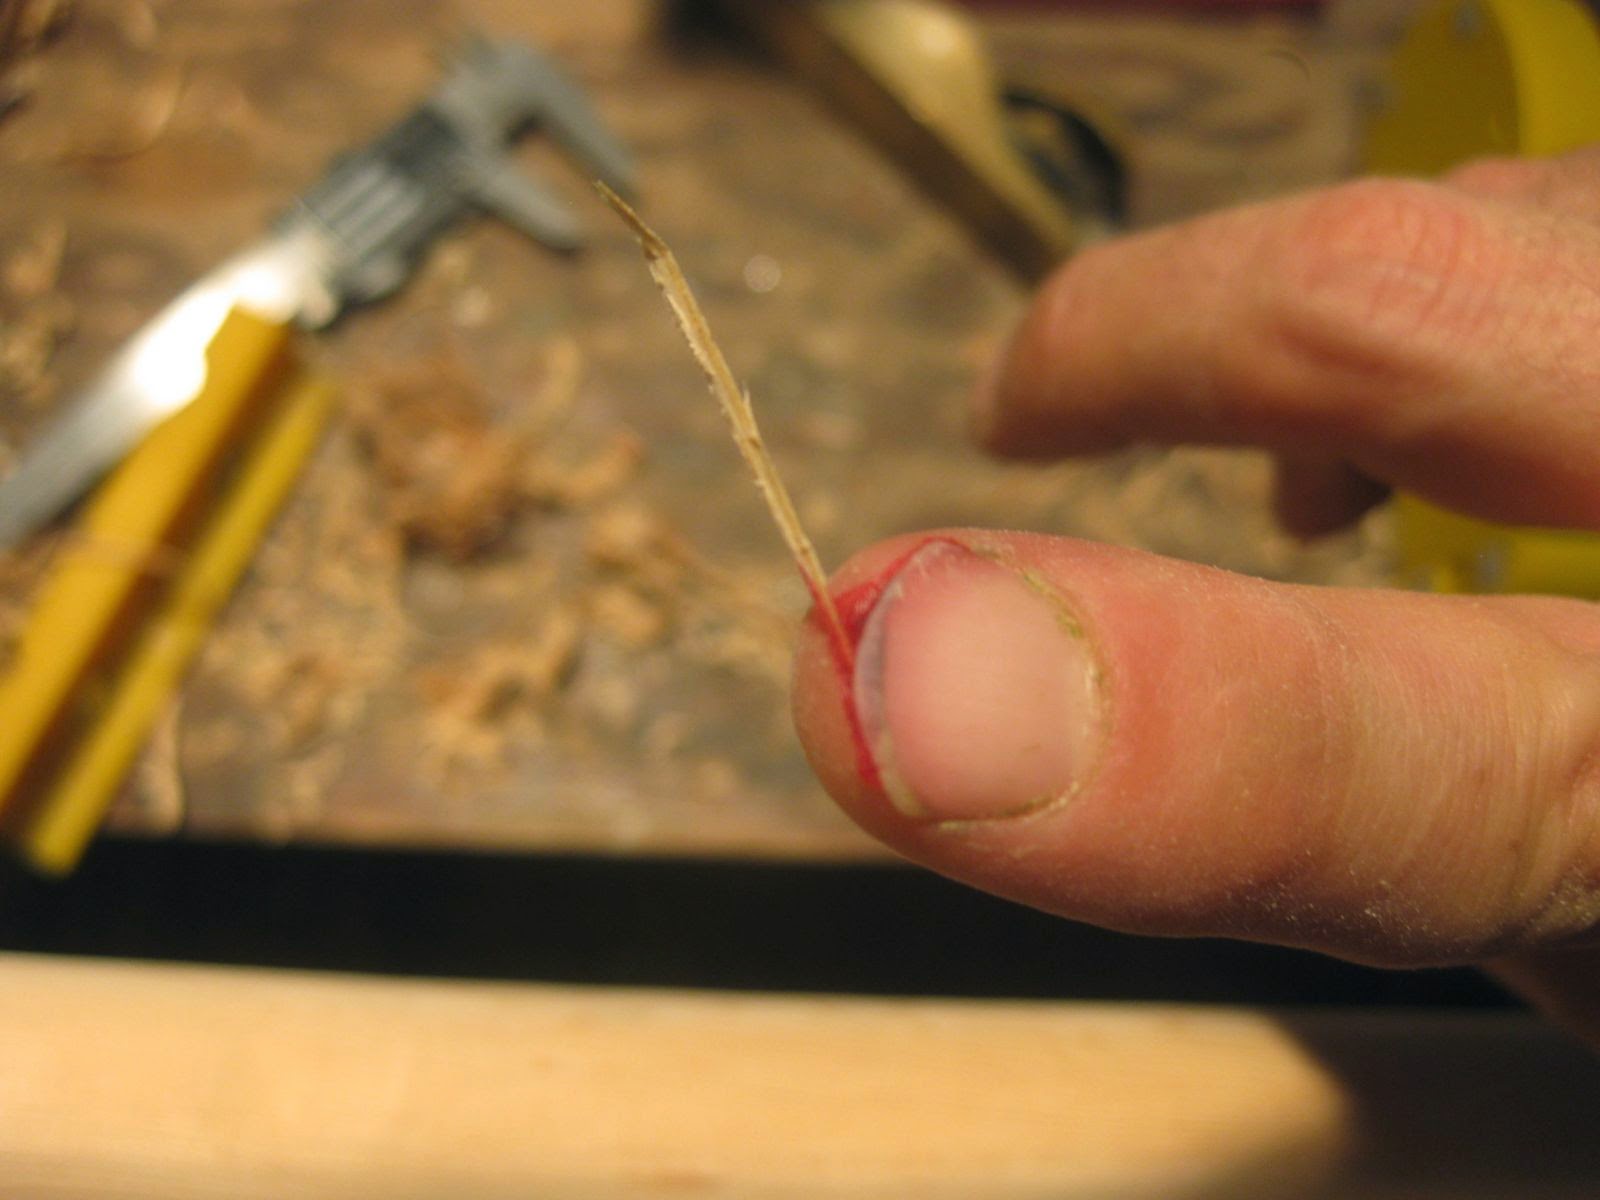
A bit of work with the block plane, and finally some sanding. The fir is quite splintery, which I learned well while hand sanding in the quirk bead with a folded piece of paper.
While perusing the code stuff on the internet, I realized my handrail would not be code compliant; it needed to be thinner at the top and with a deeper inset closer to the top to make it even more grippable. So I had to remachine most of it again the next day after planing it down some more.
The straight rail sections turned out well and they were not that hard to make. So far so good.
Joins and Ends
The inspector said you cannot have the ends of rails hanging in space, they must join to other rails or terminate against the wall. The principle being that your clothes might get caught on a loose end and cause you to fall down the stairs.
Mitering the rail for this would be the obvious thing to do, and that works ok for a dowel rail. But with a profile rail needing to join at corners with the rail at different angles on adjacent walls, the join would be pretty ugly. And in my opinion the most elegant rails have smoothly contoured joins. I aspired to make an elegant rail, even though it is just for the back stairs.
I bought the polished nickel finish rail supports from
Crown City Hardware. After consulting some online resources to see how high the handrail should be from the tread nose, I started laying out the supports on the wall. Keeping within the code range, I could make the rail work in 4 segments on 3 walls. This meant I needed two complex joins (for the corners of the walls), one simple join (for the change in rail slope on one wall), and two end terminators.
My big idea for making these pieces "easy" was to glue up cheap doug fir 4x4 from home depot, and to install the rails against the blocks.
Then I could draw in how I wanted the blocks to be shaped to bridge between the rails:
Take them out for shaping, then put the rail back together again.
Then repeat with refinements. A few kinks came up with this plan, as usual..
First of all, since I had to thin the rail for compliance, I no longer had enough meat on the bottom to use a regular handrail connector bolt. If I were doing this again, I would thin the top grasping section, while leaving more material at the bottom for the bolts. My substitute was to use pocket screws.
I wanted to have the rail be removeable for painting, etc., so I made the rail in three sections. Joins within a section were done with a glued spline (later I realized I put the spline grain the wrong way, dang it) and pocket screws with plugs. Between sections, just the pocket screws. This worked ok, but probably not as convenient and effective as rail bolts.
Rough shaping of the joins and ends was easy to accomplish on the bandsaw. But when I got down to the carving needed to make the rail profile on the contoured pieces, I got hopelessly bogged down.
The doug fir was a terrible choice for carving. The grain is widely spaced, with the ring being hard and full of resin, so relatively tough to cut with a chisel. The wood between rings is super soft and doesn't slice but instead crushes and tears like cork. The combination of these two material domains made life extremely difficult. Cutting with a chisel or gouge is hard because the instant you get through the sticky hard ring, the tool plunges into the corky layer and rips it up. Abrasives attack the corky domain preferentially, so after sanding you are left with a ribbed surface instead of a flat one.
I should have just used cherry or something for the entire rail and joining sections. Maybe it would have cost a few hundred extra dollars in wood, but I spent more than this on tools alone trying desperately to solve this carving challenge. Carving the inside curve of the corner joins presented special difficulty since access with the gouge was limited.
I wasted loads of time and money buying, sharpening and fighting with a whole slew of gouges, spoke shaves, and chisels:
Also tried rotary burrs in my die grinder (like a big dremel), but these were far too slow at removing material. Finally I tried a power carving wheel on my angle grinder. The salesman at
Woodcraft recommended a spiky tungsten carbide wheel called the
Holey Galahad, rather than the chainsaw toothed wheel I had initially gone in for.
This worked very well on doug fir and finally let me make some progress. Still not easy, but I got it into some semblance of the right profile.
Just clamping these sections to work on them was difficult.
Results
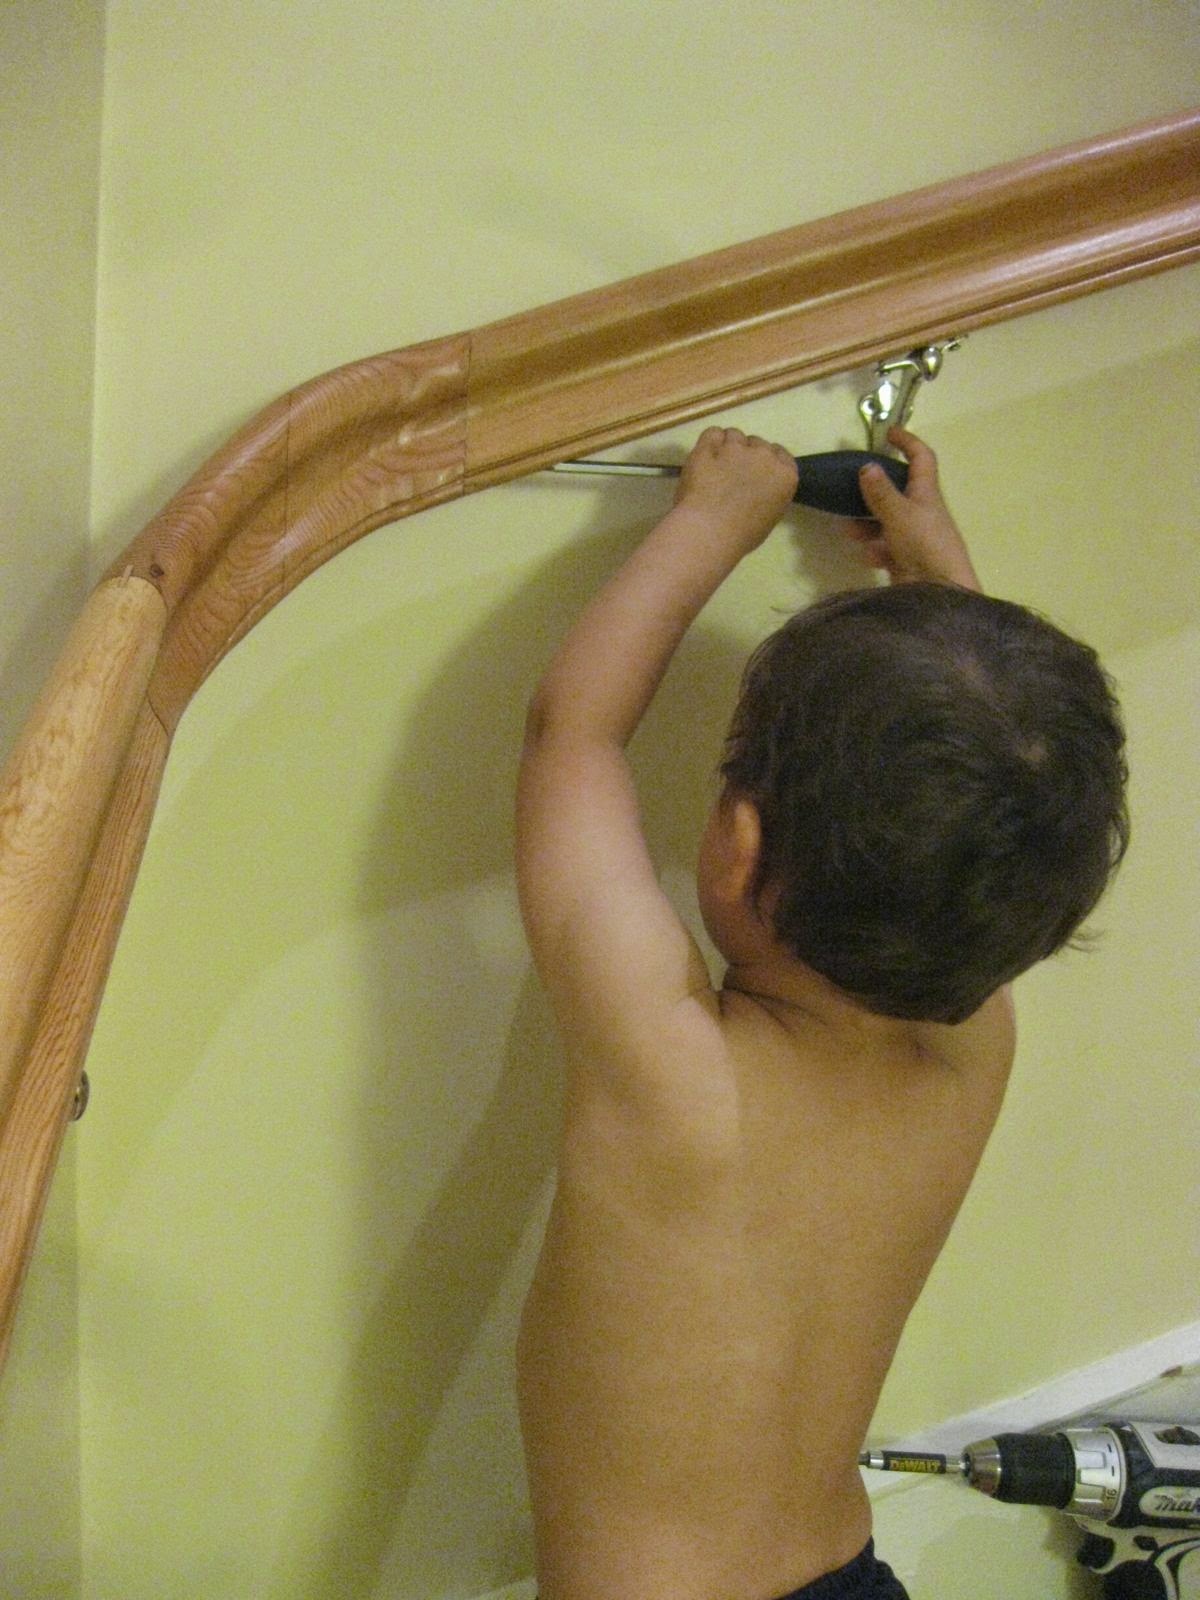
Becky had taken the kids to her parents' for the week, and I took vacation to work on the house. I had grandiose plans about all the stuff I could accomplish in a whole week alone at home, but I easily spent half the time struggling with these rail join pieces. Very frustrating! I didn't even finish this rail by the time the family returned. Child 3 helped me do the finishing and a few last reinforcements. Here he is helping me install it.
Child 1 tries out the new rail.
So now the rail is in.
The quality of the carving on the joins is borderline embarrassing,
but I think I can live with it.
Besides, I already spent way too much time on this rail and I can't stomach spending more on it. So I'm going to declare victory and move on. If I ever make another handrail, I'll be in a good position to do a better job with a lot less blundering around.