Showing posts with label renovation. Show all posts
December 11, 2014
Attempts at a 50 year fence
Last year when we did our backyard renovation, I put a lot of energy (and cost) into the back fence. We are planning to espalier apple trees against the fence, and the 10-20 year life expectancy of even a pressure treated fence post did not seem compatible with this idea. Replacing an in ground 2.4m post with apples grown all onto the fence sounds difficult and probably damaging to the trees. Dwarf apple trees might last 50 years, so I began thinking about how to build a fence that would have a comparable life span, or at least make replacement of fence elements less disruptive.
Labels:
growing,
landscaping,
renovation
September 19, 2014
Two custom cedar storm doors
I needed two storm/screen doors for exterior entry doors at my house. Previously I had bought a custom spanish cedar door with matching storm unit from Vintage Doors, which was very nice but quite expensive. I got a quote from them for these two new storm doors for about $1600, which I felt was going to be painful to shell out. Pricing out two doors worth of 25mm spanish cedar at Anderson McQuaid indicated I would need maybe $300 worth of wood to do the project myself, and there are only a few joints to worry about, so I decided to just build them.
Labels:
renovation,
woodworking
September 1, 2014
A Contoured Hand Rail
One of the last things I needed to do to close out a building permit I opened 6 years ago was to make a handrail for the back stairway from the kitchen down to the back door. There was only rail for a little bit of the stairs when we moved in, but the building inspector said I should have a rail. Of course I had to make this simple sounding project into a complex journey.
The space is challenging to work with, rail wise. The stairway itself would not meet modern code; it is too narrow and the winder steps are not wide enough. I suspect it may also be too steep. Putting a rail in it makes it even narrower and harder to carry things up and down, so I wanted to minimize the passageway width that would be taken up by the rail and wall supports. The slope described by the points where the tread nosing meets the wall changes as the stairs go from straight to winding, which means the rail must also change slope midway up the wall.
A typical home depot stair rail would be much too big for the space. I could have used a dowel rod, but I felt I wanted a profile that was both classic looking as well as narrow. The partial rail that remains in the top of the stairway has a nice profile, and I found a rail with a similar profile at J.P. Moriarty, a small molding shop down the street from me in Somerville which specializes in historical millwork. Unfortunately, the profile I wanted is not a stock part, so with setup charges it was going to cost me about $800 for 8m of rail. The eye watering price combined with a very long lead time led me down the path of thinking: "Hey, I could just make that...". Yeah, we all know how that goes!
The flooring in that area of the house is soft wood, probably flat sawn longleaf pine. To fit in with that, I picked up some lengths of tight grained clear fir from Anderson McQuaid and glued them together to make a cross section big enough for the rail profile.
I made a drawing of the major features I desired on the rail, which I thought I could work using the table saw, router table, some antique molding planes, and sandpaper. I didn't end up making exactly this but it captures the general idea. Units are in Stupid:
Straight Rail
The table saw got it started with a series of 45 degree cuts.
Then a large diameter core box bit on the router table, followed by a large diameter roundover.
Then some hand work with an ebay antique round profile molding plane (which needed a lot of sharpening to make usable),
and a bead profile molding plane
A bit of work with the block plane, and finally some sanding. The fir is quite splintery, which I learned well while hand sanding in the quirk bead with a folded piece of paper.
While perusing the code stuff on the internet, I realized my handrail would not be code compliant; it needed to be thinner at the top and with a deeper inset closer to the top to make it even more grippable. So I had to remachine most of it again the next day after planing it down some more.
The straight rail sections turned out well and they were not that hard to make. So far so good.
Joins and Ends
The inspector said you cannot have the ends of rails hanging in space, they must join to other rails or terminate against the wall. The principle being that your clothes might get caught on a loose end and cause you to fall down the stairs.
Mitering the rail for this would be the obvious thing to do, and that works ok for a dowel rail. But with a profile rail needing to join at corners with the rail at different angles on adjacent walls, the join would be pretty ugly. And in my opinion the most elegant rails have smoothly contoured joins. I aspired to make an elegant rail, even though it is just for the back stairs.
I bought the polished nickel finish rail supports from Crown City Hardware. After consulting some online resources to see how high the handrail should be from the tread nose, I started laying out the supports on the wall. Keeping within the code range, I could make the rail work in 4 segments on 3 walls. This meant I needed two complex joins (for the corners of the walls), one simple join (for the change in rail slope on one wall), and two end terminators.
My big idea for making these pieces "easy" was to glue up cheap doug fir 4x4 from home depot, and to install the rails against the blocks.
Then I could draw in how I wanted the blocks to be shaped to bridge between the rails:
Take them out for shaping, then put the rail back together again.
Then repeat with refinements. A few kinks came up with this plan, as usual..
First of all, since I had to thin the rail for compliance, I no longer had enough meat on the bottom to use a regular handrail connector bolt. If I were doing this again, I would thin the top grasping section, while leaving more material at the bottom for the bolts. My substitute was to use pocket screws.
I wanted to have the rail be removeable for painting, etc., so I made the rail in three sections. Joins within a section were done with a glued spline (later I realized I put the spline grain the wrong way, dang it) and pocket screws with plugs. Between sections, just the pocket screws. This worked ok, but probably not as convenient and effective as rail bolts.
Rough shaping of the joins and ends was easy to accomplish on the bandsaw. But when I got down to the carving needed to make the rail profile on the contoured pieces, I got hopelessly bogged down.
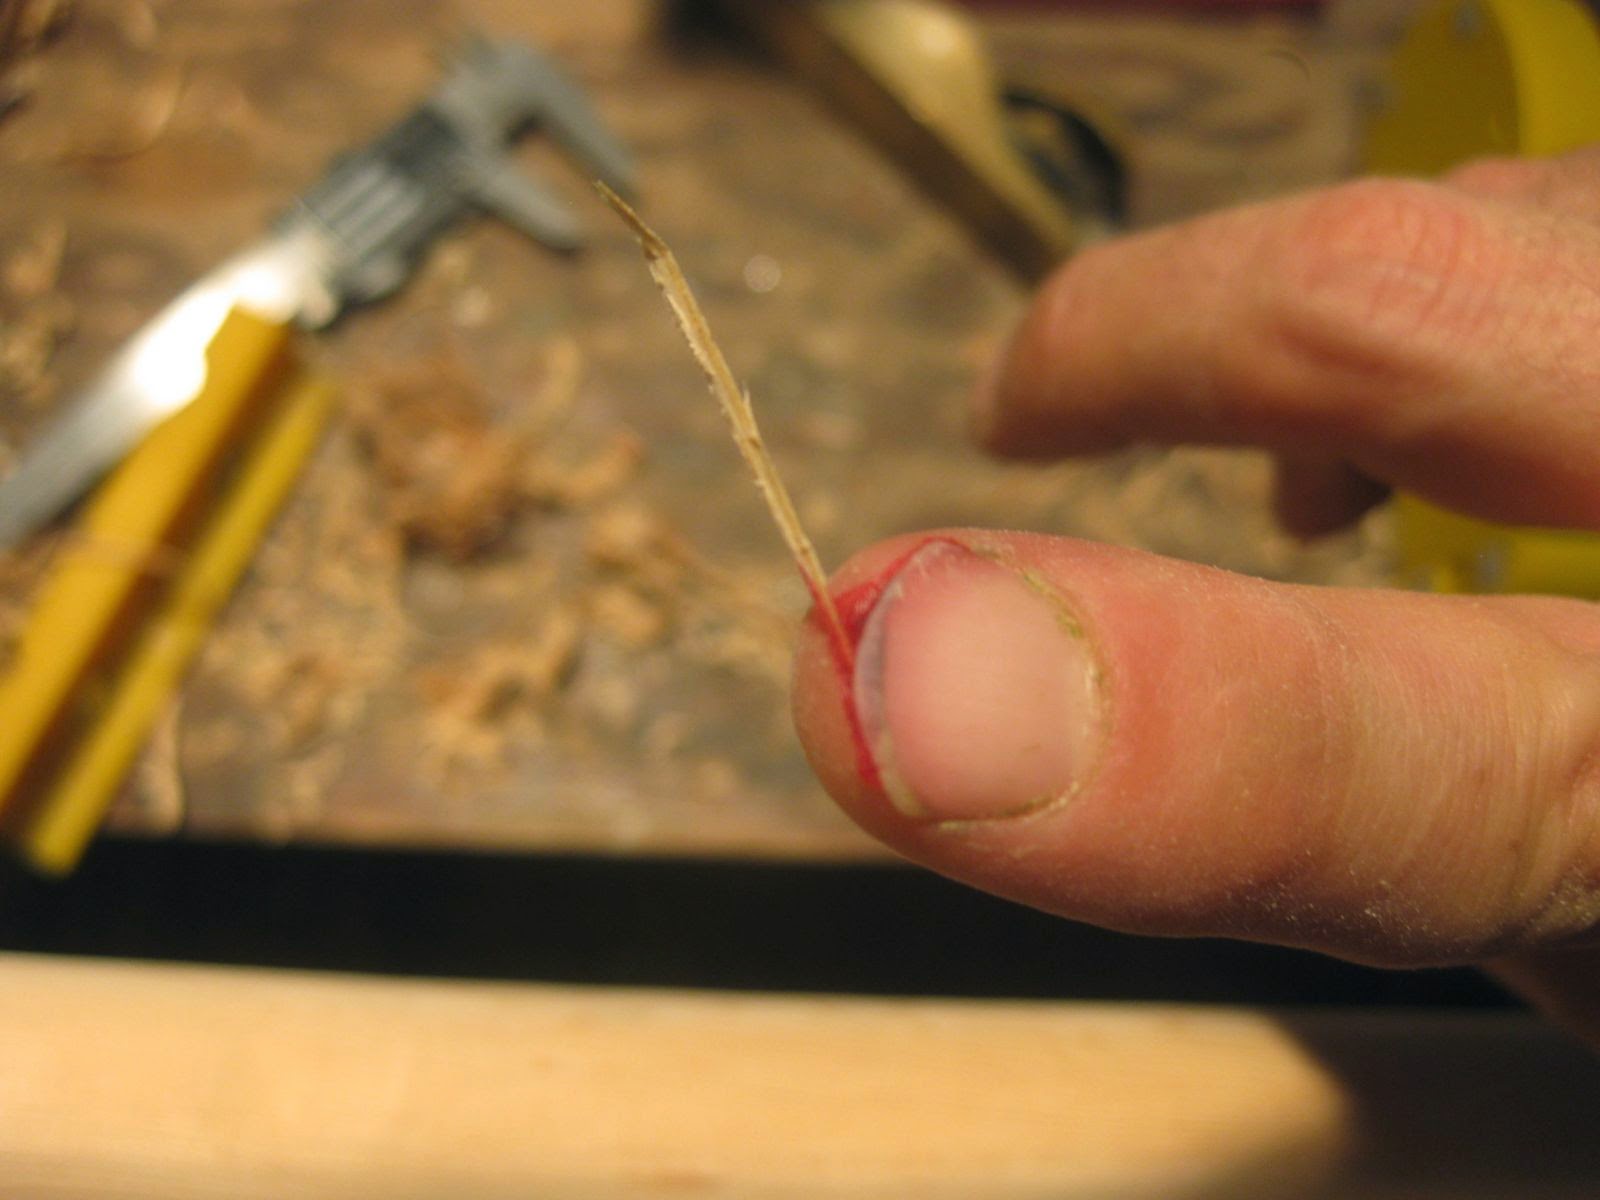
The doug fir was a terrible choice for carving. The grain is widely spaced, with the ring being hard and full of resin, so relatively tough to cut with a chisel. The wood between rings is super soft and doesn't slice but instead crushes and tears like cork. The combination of these two material domains made life extremely difficult. Cutting with a chisel or gouge is hard because the instant you get through the sticky hard ring, the tool plunges into the corky layer and rips it up. Abrasives attack the corky domain preferentially, so after sanding you are left with a ribbed surface instead of a flat one.
I should have just used cherry or something for the entire rail and joining sections. Maybe it would have cost a few hundred extra dollars in wood, but I spent more than this on tools alone trying desperately to solve this carving challenge. Carving the inside curve of the corner joins presented special difficulty since access with the gouge was limited.
I wasted loads of time and money buying, sharpening and fighting with a whole slew of gouges, spoke shaves, and chisels:
Also tried rotary burrs in my die grinder (like a big dremel), but these were far too slow at removing material. Finally I tried a power carving wheel on my angle grinder. The salesman at Woodcraft recommended a spiky tungsten carbide wheel called the Holey Galahad, rather than the chainsaw toothed wheel I had initially gone in for.
This worked very well on doug fir and finally let me make some progress. Still not easy, but I got it into some semblance of the right profile.
Just clamping these sections to work on them was difficult.
Results
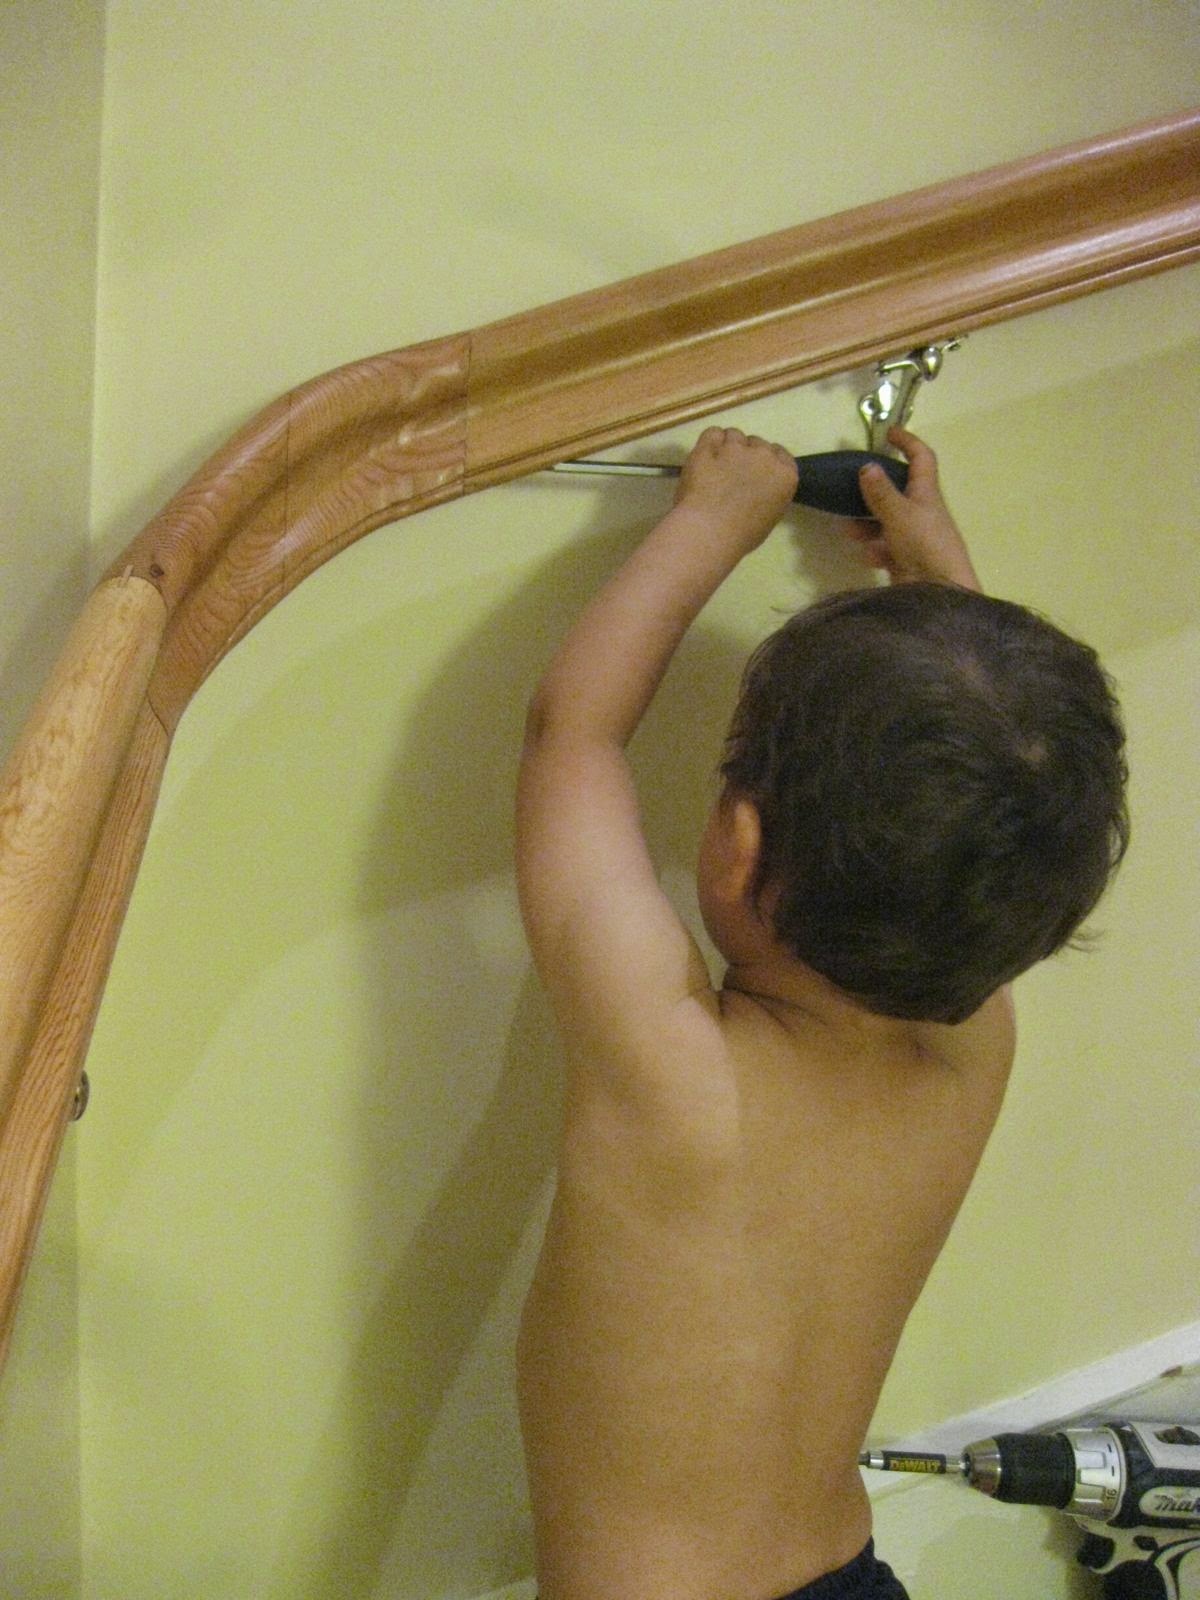
Becky had taken the kids to her parents' for the week, and I took vacation to work on the house. I had grandiose plans about all the stuff I could accomplish in a whole week alone at home, but I easily spent half the time struggling with these rail join pieces. Very frustrating! I didn't even finish this rail by the time the family returned. Child 3 helped me do the finishing and a few last reinforcements. Here he is helping me install it.
Child 1 tries out the new rail.
So now the rail is in.
The quality of the carving on the joins is borderline embarrassing,
but I think I can live with it.
Besides, I already spent way too much time on this rail and I can't stomach spending more on it. So I'm going to declare victory and move on. If I ever make another handrail, I'll be in a good position to do a better job with a lot less blundering around.
Labels:
renovation,
woodworking
July 21, 2014
The Virtues of Wooden Shoes
The virtues of wood shoes are manifold
- 100% renewable, biodegradable materials
- Durable, long lasting, and can be renovated
- Impact, pierce, and crush resistant
- Heat, cold, and chemical resistant
- Waterproof
- Luxurious comfort, at least for standing on hard surfaces and light walking
- Meet CE standards for safety shoes
- Fashionable, even dare I say cute?
I've been wearing wood shoes part time for about 8 years now. I'm surprised they are not more popular! I've got a total of three pairs, and given that I can work on them myself, I anticipate I'll be able to keep them going for a long time. One pair is a tight fit, for thin socks and summer wear. Below is me with my first daughter at the park for lunch, 7 years ago.
Another is a loose fit, to accommodate two pairs of wool socks for winter bike commuting (as seen in main picture at the top, with gaiters).
The third I usually leave at the bottom of the basement stairs to use as cellar slippers. Child 1 asked me to get her a red pair which I was happy to supply.
Many people including me feel terrible after spending any time standing on concrete. My job, while not as on your feet as a hospital job, still involves many hours spent standing in the lab, which is concrete topped with vinyl composition tile. Standing on concrete in wood shoes is way more comfortable than standing in regular shoes. I've also worn them to work trade shows, which are hell on my feet and back with normal shoes.
They do take some getting used to; heavy wool socks are helpful. The various wood shoes I have bought have not been ready to wear as purchased. Since the vast majority of wood shoes sold these days are sold as tourist trinkets rather than functional footwear, a few tweaks are helpful prior to trying to wear them. In particular, there is a sharp transition around the inner edge of the foot hole that ought to be eased, especially where it curves over the arch. This can be accomplished quickly with a rasp
and some sandpaper.
Once this is done, the process of breaking in your feet can begin.
The shoes actually do break in a little bit, in that the bottoms become softer after repeated exposure to water and walking. The edges of the bottoms also wear as you walk in them to make taking steps more comfortable. But I think the main thing that needs to happen is for the nerves in certain parts of your feet to become less sensitive. After about a year of wearing the clogs at least once a week, they are actually quite comfortable.
If you want to get a lot of baffled looks, try wearing wood shoes while traveling through airports. They have a nice loud clack on the hard floors which draws plenty of attention from any people who are around, who are rewarded for their curiosity by seeing something unusual and puzzling. Sometimes when we are out together Becky thinks people are checking her out, and that she must look extra good that day. But then she is irked to find they are actually just checking out my shoes!
I got my first pair of wood shoes in Holland just before my eldest daughter was born. We were visiting my good friend JD and his wife, who were living in Amsterdam for a year, and we had a wonderful trip. One day we took the train out to see a living history style Dutch village, Zans Schans. Here are JD and Anne on our day trip:
An attraction I definitely wanted to see there was the Klompenmakerij.
They had a set of fascinating machines from the 1920s or 30s for making wood shoes. The wood starts out green, which makes it very easy to work though I imagine some shoes are lost to cracking during later drying. These days most wood shoes seem to be made from poplar, but I read that willow used to be preferred. A typical medium diameter log might get split into quarters to make 4 shoes per length of trunk.
The first machine was a pattern copying lathe. A shoe to be copied was mounted between centers, while the green wood blank is mounted between another set of adjacent centers. The pattern and blank are revolved synchronously at a sedate pace while a pantograph like arrangement rides the surface of the pattern while moving a circular saw like cutter in an analogous fashion over the blank. In this way, most of the exterior of the shoe is formed.
The second machine is an internal pattern copy mortiser type arrangement. The blank and the pattern are locked in place and a pantograph controlled cutter is used to first cut the heel pocket, then repositioned to reach up into the mid and toe sections.
The leftover centers extending from the shoe are chopped off and it is allowed to dry. Then the outside is sanded down. When I was watching the wood shoe making demo in Zans Schans, I started thinking it would be neat to wear these shoes. So after thinking about that, I purchased a pair in Amsterdam.
My two other pairs have been bought on the internets, from DutchVillage.com.
I bet 99.9% wood shoes made are for tourists to buy and take home to use for planters, bird houses, decorations, and other uses besides shoes. But there are a few people who actually wear them. I saw a worker at a construction site in Amsterdam wearing wood shoes. I talked to him about it, and he was the one who clued me in to their ability to meet the criteria for safety shoes in the EU. Also the guy working the demo at the wood shoe workshop. And on occasion, an elderly dutch mechanical engineer at my job.
I really want to get around to making some uppers for one of my pairs, like the boots shown above (photo taken from the Klompenmakerij). This would be great for winter, and would keep snow out better than the gaiters I think.
One other resource for those interested in wood shoes is this book:
I had to buy it, since for some reason they didn't have it in the library.
Renovation
We've all been there, right?. Your favorite pair of wood clogs is worn flat in the heel and canting to the side.
Or maybe the bottoms are worn clean through.
Luckily wood shoes, in addition to being completely renewable, durable, compostable, and fashion forward are pretty simple to work on with basic woodworking tools.
My experience is that the heels wear out first. I've reheeled a few times, in the following photos I used some 12mm thick poplar leftover window stop molding.
The main complicating factor in an otherwise simple operation is that in my case at least the heels don't wear evenly.
So the question is how to fill the gap between the new bottom piece and the remainder of the shoe body. Typically I first epoxy on the bottom, then go back and fill in with wood wedges and more epoxy. Finally, sand around to contour and clean things up.
First, clean up the shoe to receive the new piece. I wire brushed and sanded, then used a rough bench plane.
Cutting out the new pieces.
Ready to epoxy.
Sticking them on and filling the gaps from the sides.
Ready for final sanding.
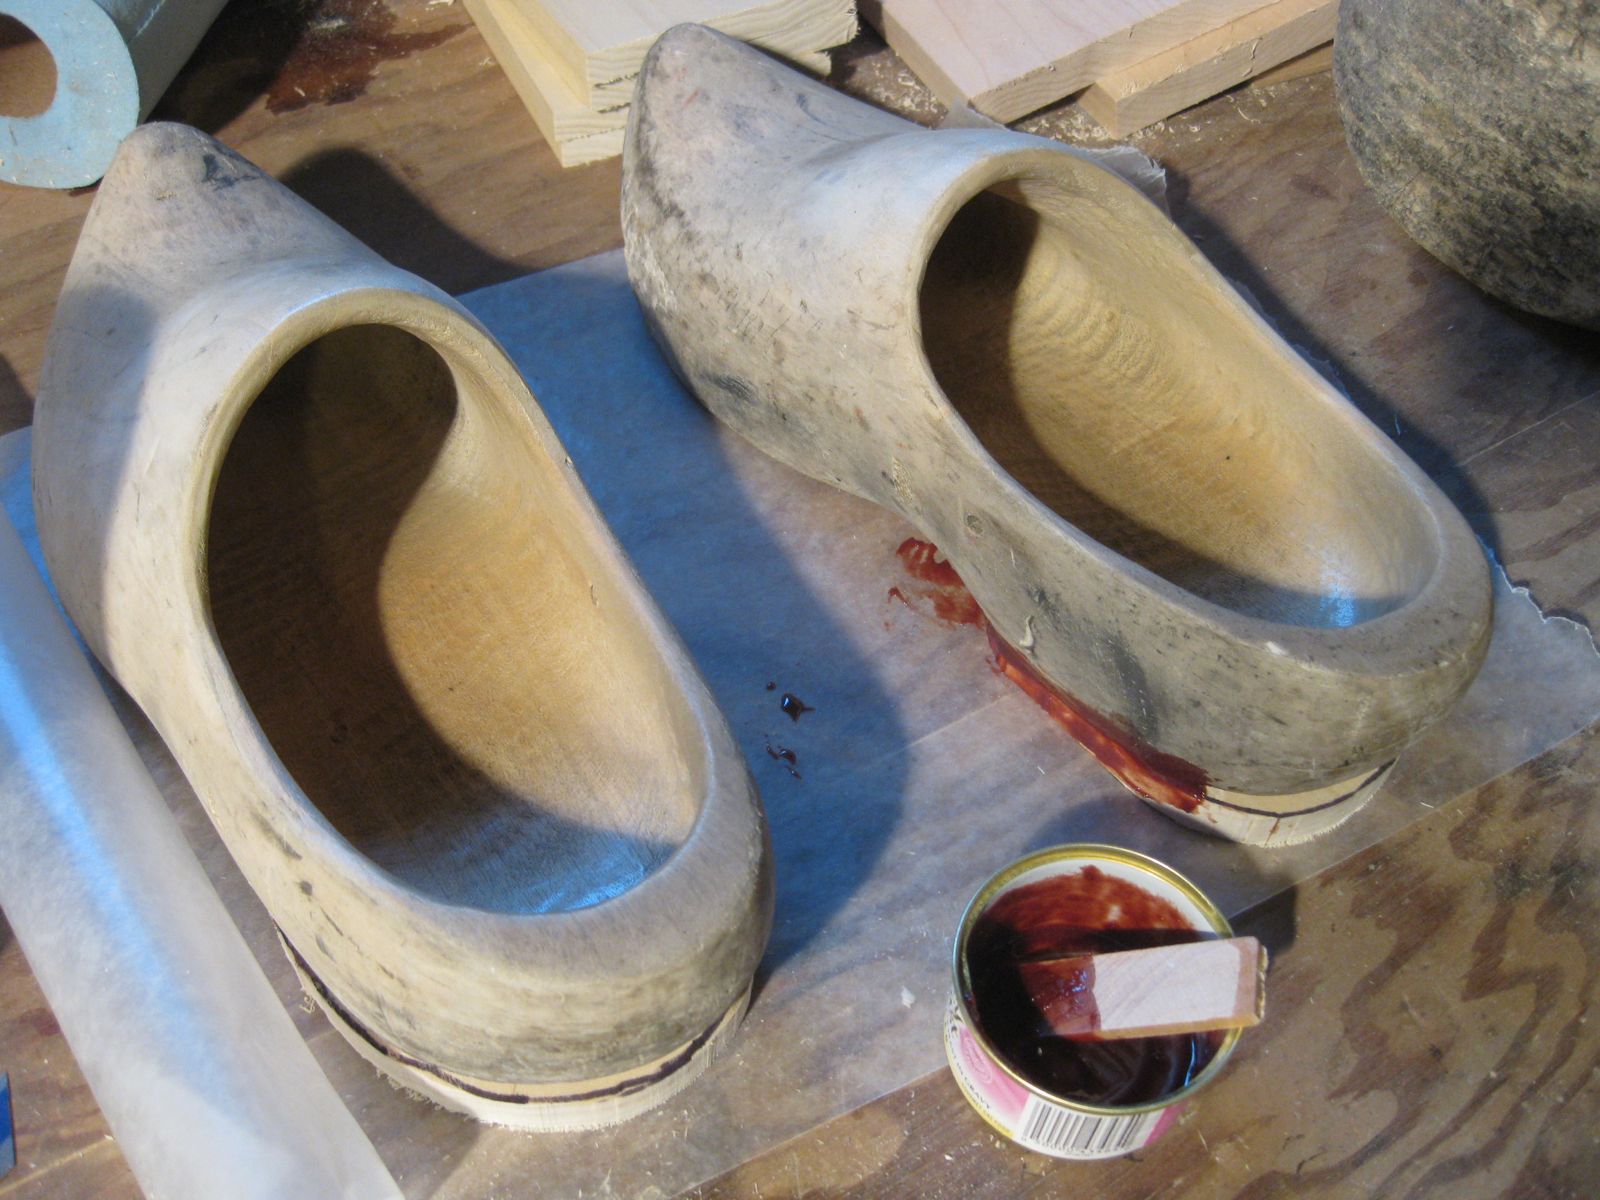
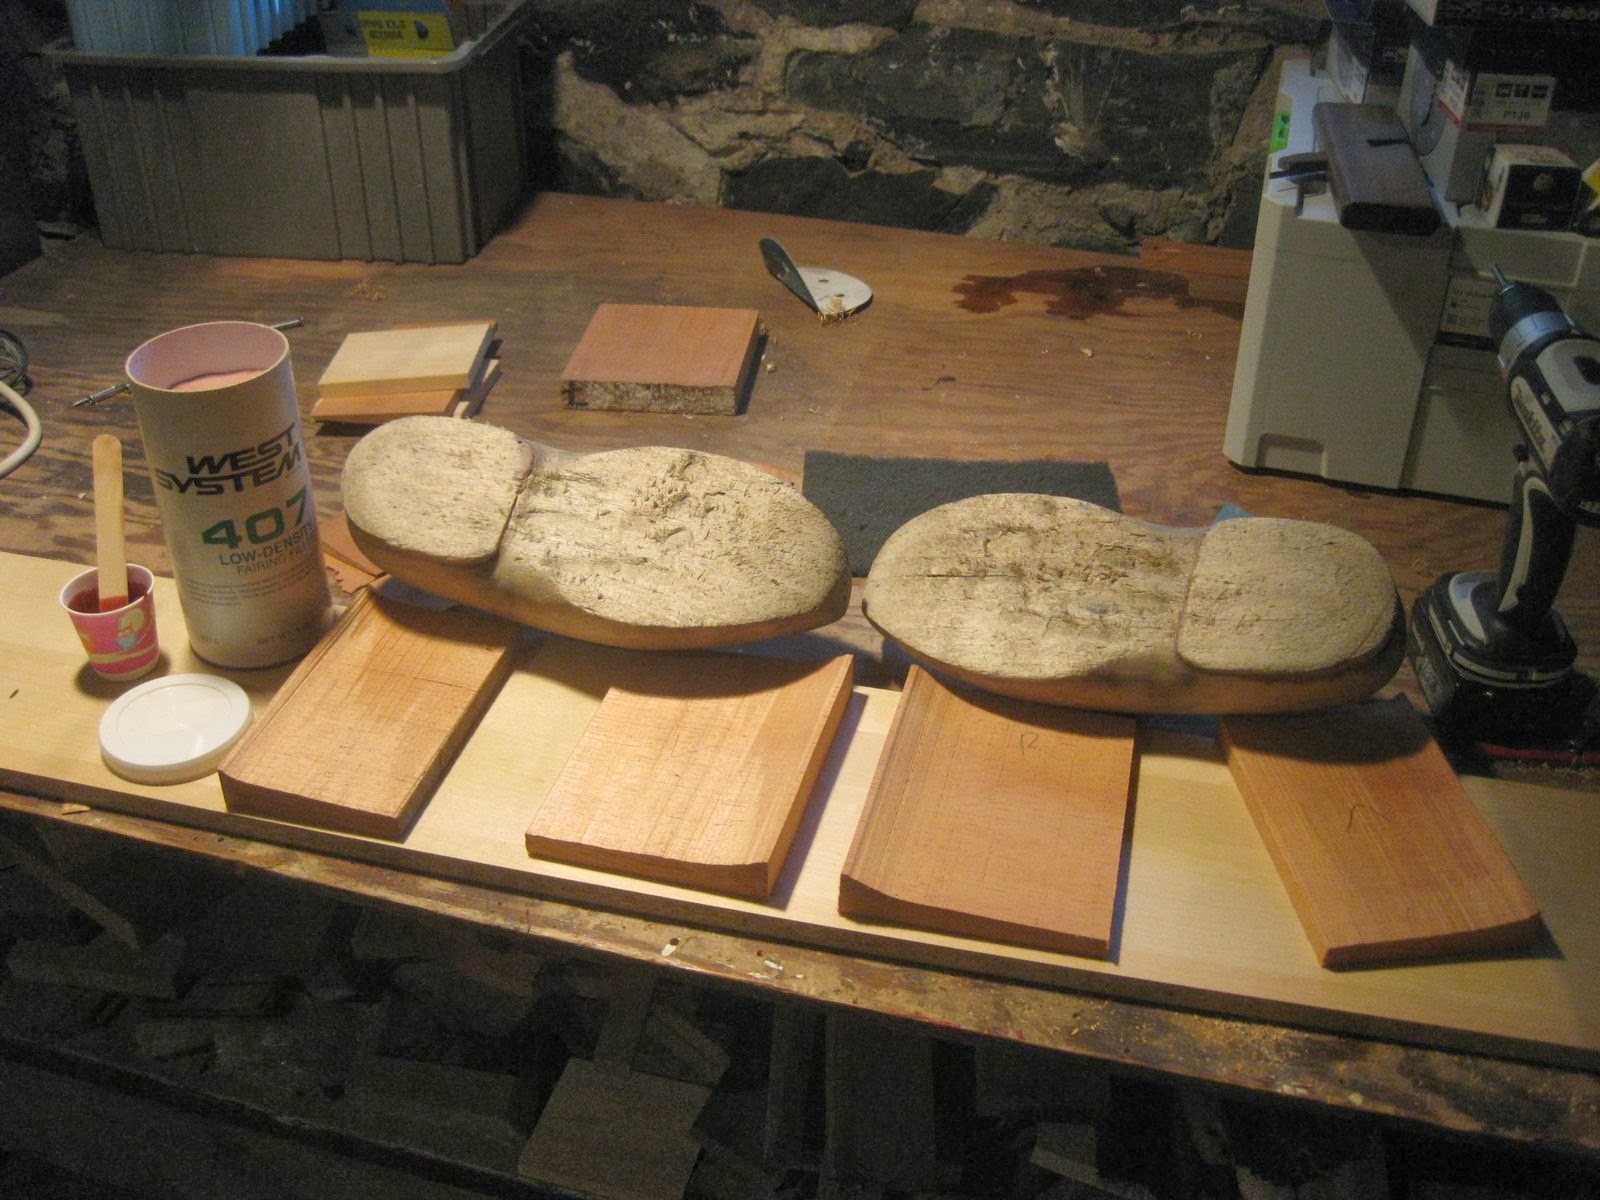
After a reheeling and a lot more wear, this same set of wood shoes wore all the way through in the front section on the bottom. By this time, they needed new heels again too. I used some scraps of spanish cedar to build them up again.
Below is a look into the right shoe; notice the light coming through the crack in front and the bottom.
Front and back additions for both shoes.
First some cleaning up though.
Trimming the extra off the bottom pieces, after the glue has set.
Epoxy on some toe pieces and wedges for the big gaps between shoe and bottom additions.
The Waterlox on the right was not put on the shoes; it was used on the drum that was going on at the same time.
After final trimming and sanding.
You can see the remnants of previous reheeling operations above the spanish cedar pieces.
Ready to go another round. Second pair that needs new heels shown on the right.
I should also mention that level 0 of wood shoe renovation is just sanding it down, which is akin to shining the shoes. They do tend to get dirty and marked up. Maybe less so if they are finished rather than raw wood. But 10 minutes with a palm sander and they look great again.
Labels:
fashion,
renovation,
vintage machines,
woodworking
Subscribe to:
Posts (Atom)